
Lighting can make a car feel showroom-ready or easy to scroll past. For dealerships, that split second of perception directly shapes how a listing performs. Whether the goal is marketing, documentation, branding, or sales, car photography lighting sets the tone, preserves visual accuracy, and directs attention where it matters most.
Buyers form judgments about condition, value, and credibility almost instantly, long before they read specifications or compare prices. When a car studio lighting setup falls short, images lose depth, paint appears lifeless, and defining features blend into the background.
For dealerships and automotive brands, lighting influences engagement, lead quality, and inventory velocity. In this blog, we break down proven car photography lighting techniques, explain how lighting impacts business outcomes, and explore how stronger visual solutions help automotive businesses compete and convert faster.
Importance of Good Car Photography Lighting
Car photography lighting plays a decisive role in how a vehicle is perceived the moment it appears on screen. This car photography on lighting explains why lighting shapes first impressions, drives buyer confidence, and underpins every successful vehicle image.
- Controls reflections on high-gloss surfaces: Effective car photography lighting shapes reflections instead of fighting them.
- Maintains accurate paint and finish tones: Using the best lighting for car photography ensures colors stay true across metallic, matte, and pearl finishes.
- Defines shape, depth, and design lines: Car photography lighting techniques use directional light to highlight curves, edges, and proportions, giving vehicles a dimensional, premium look.
- Improves detail visibility inside and out: Balanced lighting for car photography enhances wheels, trims, and interiors, supported by focused interior car photography lighting.
- Supports faster buyer decisions: Strong automotive photography lighting creates clear, trustworthy visuals that elevate perceived value and drive higher engagement on listings.
How to Set Up Lighting for Car Photography: Techniques and Practical Ideas
A strong car photography lighting setup begins with understanding how light behaves across paint, glass, chrome, and interior surfaces, then applying techniques that protect form, color accuracy, and visual intent. Whether you’re shooting for listings, branding, or editorial use, learning the core car photography lighting techniques and the step-by-step setup process is what leads to consistent, high-quality results.
1. Direct Frontal Lighting
Common in studio car photography, this technique places the light close to the camera axis, typically for front three-quarter angles. It evenly illuminates the grille, hood, roof, and side panels, making it ideal for clean dealership shots where visibility and accuracy matter.
- Side lighting: Side lighting adds structure and depth by placing the light to the left or right of the camera. It enhances panel edges, body lines, and contours, making it a preferred choice for car lighting photography.
- Additive lighting: Additive lighting directs light onto specific areas of the vehicle to enhance curves, paint richness, and metallic finishes.
- Subtractive lighting: A core method in automotive studio lighting, subtractive lighting floods the studio with even light, then uses black flags or panels to remove light where shadows are needed.
2. Natural Lighting for Car Photography
Natural light remains one of the best lighting for car photography when managed correctly.
- Golden hour delivers soft, directional light that enhances paint depth and reduces glare.
- Overcast skies act as a natural softbox, producing even lighting across panels, ideal for detail shots.
- Open shade offers controlled diffusion similar to studio setups.
- Reflectors help balance contrast by filling shadowed areas without introducing artificial light.
These automotive photography lighting techniques are especially effective for outdoor car photography angles where reflections need restraint.
3. Artificial Lighting and Modifiers
For maximum control, studio lighting for car photography remains the gold standard. When done right, this approach forms the backbone of a reliable and consistent car studio lighting setup.
- Strobes offer high output and sharp detail, making them reliable for freezing motion or overpowering ambient light.
- Continuous LEDs allow real-time adjustments and are easier to fine-tune, particularly when working solo or shooting video alongside stills.
- Modifiers shape how light behaves on reflective surfaces.
- Large softboxes smooth transitions across panels, strip lights create elegant highlights along body lines, and diffusers tame hotspots before they reach the paint.
4. Interior Car Photography Lighting
Automotive photography lighting for interiors is about clean visibility without distortion. Small LEDs, soft diffusers, and bounced light evenly illuminate dashboards, seats, and trim while avoiding glare and hotspots. Done right, car interior photography preserves color accuracy, texture, and depth, giving buyers a clear, honest view of the cabin.
5. Advanced Car Photography Lighting Ideas
- Light painting: A long-exposure technique using moving LEDs to selectively light the car. Popular in car light photography, it allows handcrafted highlights that are later composited for precision results.
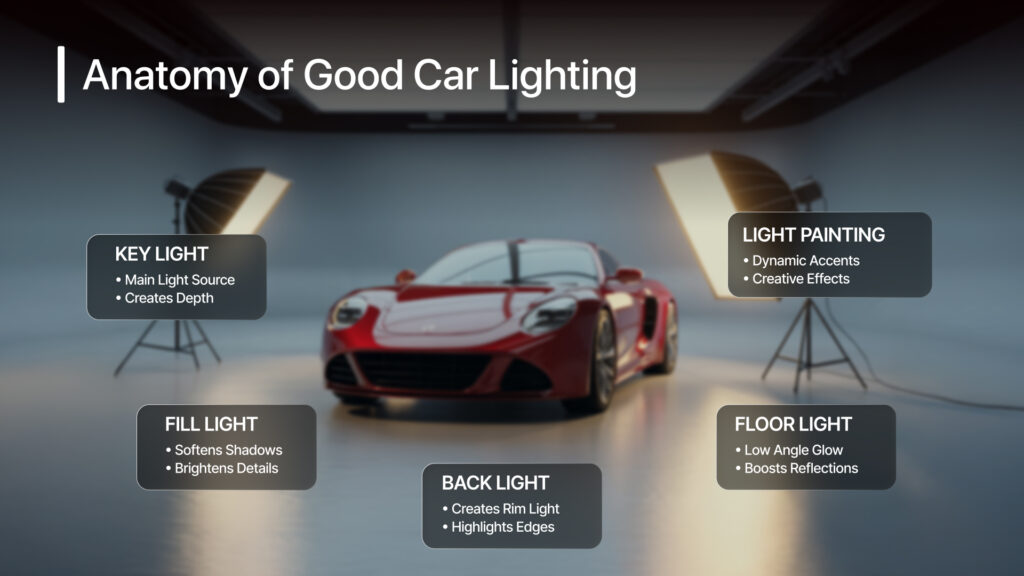
- Three-point lighting: A structured setup using a key light, fill light, and rim light. It adds depth and separation, especially useful in controlled car photoshoot.
- Polarizing filters: An essential tool for managing reflections on glass and paint, helping maintain color accuracy before post-processing.

10 Best Car Photography Lighting Tips
Strong car photography lighting shapes reflections, preserves paint accuracy, and makes body lines read clearly on screen. Whether you’re shooting for listings, brand assets, or catalogs, these fundamentals apply across studio and on-location setups. Some car photography tips around lighting are:
1. Build the Shot Around Light Control
The best lighting for car photography starts with control. In studios, controlled light sources outperform ambient daylight by giving you predictable reflections and consistent exposure.
2. Use Indirect Light to Shape the Body
Direct light flattens paint and creates glare. Bounced or diffused light produces smooth gradients across panels, helping curves, edges, and contours stand out. This approach sits at the core of professional automotive photography lighting.
3. Balance Continuous and Flash Lighting
Continuous lights help visualize reflections in real time, while strobes add power and precision. Combining both improves flexibility in studio lighting for car photography, especially for mixed shots covering exteriors, details, and interiors.
4. Follow Proven Light Placement
Basic placement drives consistent results in any car photography lighting setup:
- Direct frontal lighting evenly illuminates the car’s face but can flatten dimension.
- Side lighting brings out textures and body lines.
- Additive lighting (placing light where you want highlights) enhances contours and paint sparkle.
- Subtractive lighting (lighting the environment and masking shadows) can create dramatic contrast.
5. Diffuse Bigger Than You Think
Cars need large light sources. Oversized softboxes, diffusion panels, or reflected surfaces help soften shadows and prevent harsh hotspots. This approach defines high-end lighting in car photography, especially for glossy finishes.
6. Control Ambient Light With Camera Settings
In studio environments, faster shutter speeds help suppress ambient spill and keep focus on your light sources. These car photography settings add consistency across frames, key for scalable car lighting photography used in dealership listings.
7. Lock the Camera Down
A tripod keeps framing consistent, simplifies multi-light setups, and supports composite workflows. It’s a practical necessity for structured car photography lighting techniques and post-production efficiency.
8. Use Natural Light Strategically Outdoors
Golden hour delivers soft, directional light that flatters paint and reduces contrast. Even outdoors, understanding lighting for car photography helps you position vehicles to avoid harsh shadows and blown highlights.
9. Treat Reflections as Part of the Composition
Every surface reflects. Backgrounds, walls, and objects appear on paint and glass instantly. Managing surroundings remains one of the most overlooked car photography lighting tips, especially in uncontrolled locations.
10. Plan Your Light Before You Shoot
Work out where your key light (main source), fill light (to reduce shadows), and accent or rim lights (to separate subject from background) will sit. This three-point approach, even applied loosely gives structure to the lighting plan and reduces surprises on shoot day.
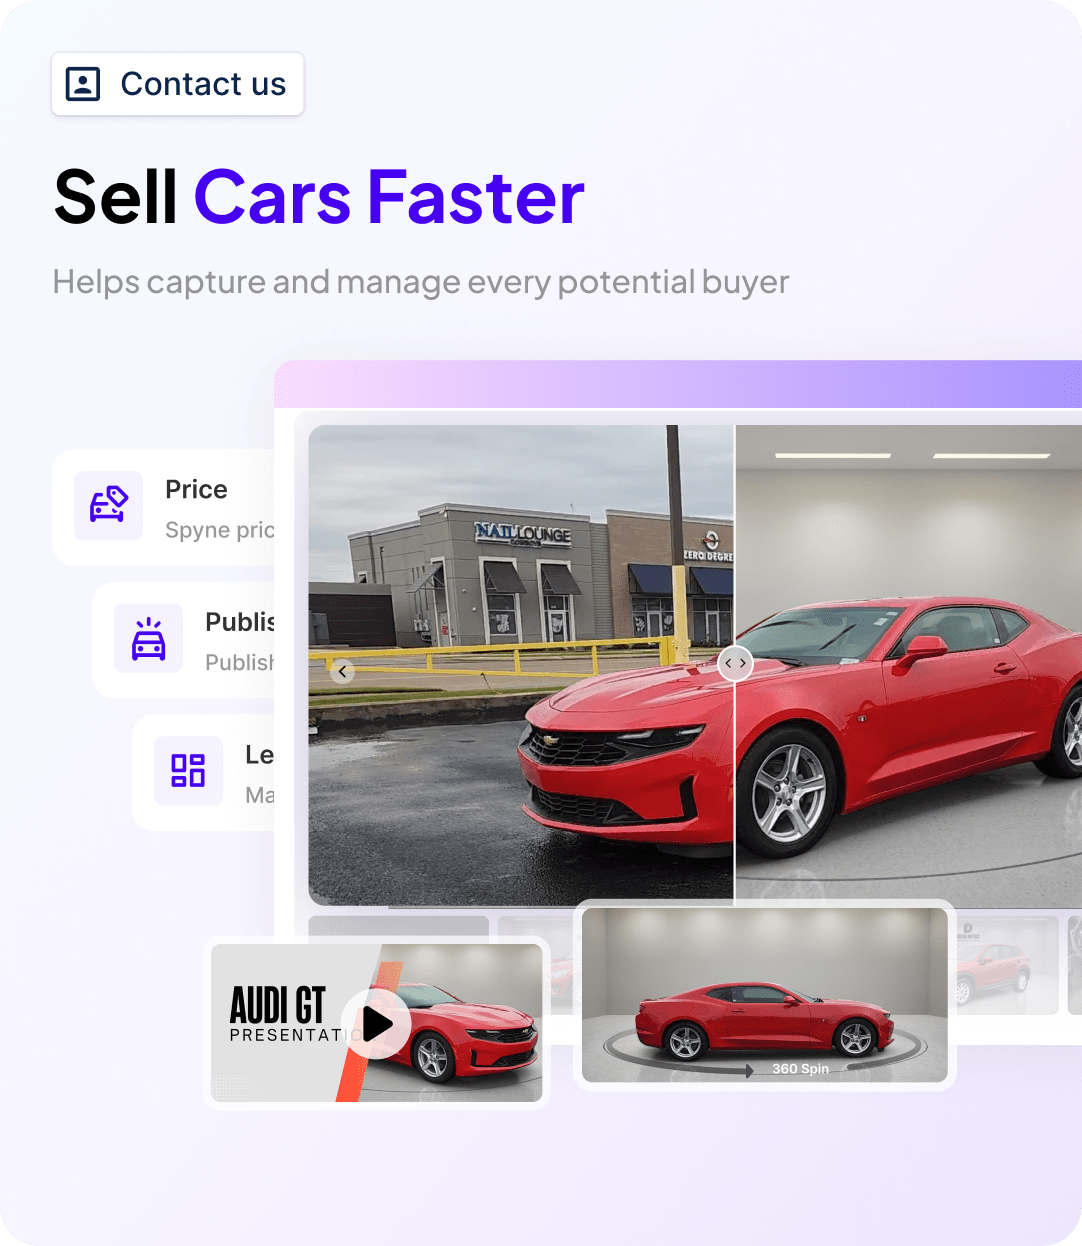
How Spyne Solves Car Photography Lighting Challenges?
Car photography lighting breaks down when consistency can’t be maintained across volume. At dealership scale, relying on perfect physical setups, repeat shoots, or professional photographers isn’t practical and creates delays and uneven results. Spyne removes that dependency by shifting lighting control into its Virtual Car Studio, where every image is corrected after capture to meet a single visual standard.
Key Challenges Spyne Eliminates:
- Uneven exposure and shadows across inventory
- Harsh reflections on glass, chrome, and curved panels
- Incorrect paint tones caused by poor or mixed automotive photography lighting
- Inconsistent lighting across 360° spins and interior shots
- Retakes and delays that slow vehicles from going live
Instead of forcing dealerships to perfect the car photography lighting setup on the floor, Spyne corrects lighting at scale through software. Each feature directly addresses a common lighting failure point.
Preview Sleek Tints with Car Tint Simulator
Want to elevate both styling and functionality in your vehicle visuals? The car tint simulator lets you preview, customize, and perfect window tints in real time, so you can visualize finished results before applying changes, leading to sleeker looks and buyer‑ready imagery that aligns with expectations.
Capture Perfect Angles with Car Visualizer
Consistent light and exposure across every angle are key to professional car photos. The car visualizer applies uniform lighting to every shot, eliminating dark frames, hotspots, and exposure shifts that often occur in standard workflows.
Show True Colors with Car Color Changer
Accurate color representation is vital for buyer confidence. Tools like car color changer corrects paint visibility affected by challenging lighting conditions and lets you visualize every paint option with precision, ensuring colors stay true across every listing and helping buyers see exactly what they’re getting.
Create Stunning Visuals with Car Image Enhancer
Low‑quality photos can hide details and diminish perceived value. The car image enhancer tool uses advanced AI to sharpen, brighten, and elevate vehicle images, delivering professional, vibrant visuals that improve detail, draw attention, and increase buyer engagement.
Highlight Every Detail with Car Shadow Removal
Unwanted shadows can reduce clarity and distract from your vehicle’s best features. Spyne’s car shadow removal tool eliminates distracting shadows so each image highlights every line, curve, and surface clearly, giving your photos a polished, high‑end look that supports faster buyer decisions.

The Shift Toward Faster, Scalable Car Studio Photography
Even the best lighting for car photography can deliver great individual results yet fall behind as inventory scales. Manual shoots typically require 30–60 minutes per vehicle, followed by editing, coordination, and reshoots that delay listings and drive costs up, often reaching approx. $40–$70/car. These inefficiencies multiply across locations and slow down car merchandising.
As a result, the automotive industry is steadily moving toward AI-powered visual platforms. Virtual platforms like Spyne, reduce capture time to minutes, remove reliance on physical lighting setups, and eliminate reshoots caused by inconsistent conditions.
If efficiency, consistency, and scale matter to your business, book a demo to see Spyne in action and understand how dealerships are modernizing car photography without the overhead of manual car photography lighting setup.