
Product photography is a branch of commercial photography that involves capturing images of products to showcase their design, features, etc. The main goal of product photography is to make the product look visually appealing and enticing. Good product photography requires attention to detail and meticulous planning. There should be the right background, lighting, and many more to get a clean, crisp, and accurate product image.
The image must consider the intended audience and the message of the product meant to be conveyed. That is why product photography is generally considered to be done in a product photography studio or a product photography tent. These are dedicated spaces for creating high-quality product photographs. Studio essentials include careful planning and diligent lighting, along with image styling and retouching.
What is Product Photography Studio?
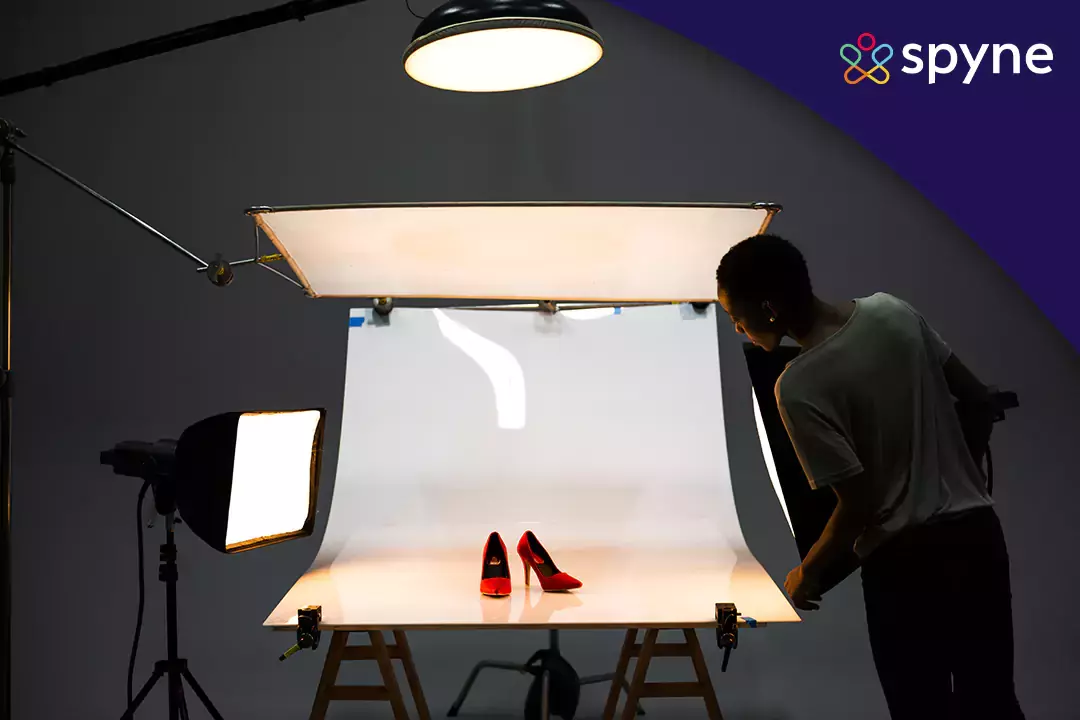
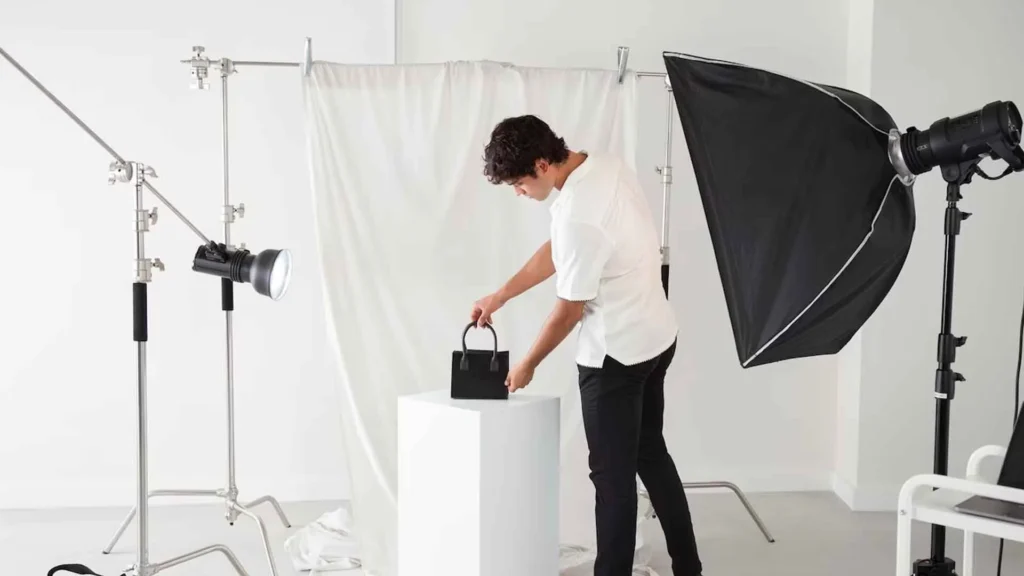
The product photography studio or product picture studio is a dedicated space made specifically for capturing top-notch product photos. It’s set up with special lighting, backgrounds, props, and other gear, all geared toward making product photography look amazing. These studios are used by businesses, e-commerce, and photographers to create stunning product pictures that really show off their products in the best light. It combines lighting with planned and executed styling and professional image retouching. It is an amazing option when improving your website’s social media imagery and catalog.
Product photography studio generally includes the following things:
1. Photography lighting Equipment includes diffusers, softboxes, and reflectors, which are essential for creating well-lit professional product photographs.
2. Backdrops and props help add visual interest to product photography and help in showcasing the product in different ways.
3. Camera Equipment such as high-quality lenses, cameras, and tripods are essential for product photography. The studio should have a range of camera equipment available for use.
4. Post-production tools are required after capturing the product photographs, and post-processing tools like product photo editing software enhance the images further.

Why do you Need a Product Photography Studio for E-commerce?
A photography studio is essential for ecommerce product photography services and e-commerce businesses that need to showcase their products online in the best possible way.
Here are some reasons why you need an ecommerce photography studio for e-commerce:
1. Professionalism
High-quality product photographs can create a professional image for your business and increase the perceived value of your products. A photography studio provides a controlled environment where lighting, backgrounds, and props can be easily adjusted to create a consistent look and feel across all product photographs.
2. Consistency
Consistency is critical for creating a cohesive brand image. Therefore, a photography studio can ensure that all product photographs are consistent in terms of lighting, background, and props, which helps to create a consistent look and feel across all product images.
3. Increased sales
High-quality product photographs can help to increase sales by creating a better shopping experience for customers. Customers are more likely to buy a product if they can see it clearly and in detail.
4. Time-saving
Setting up a photography studio can be time-consuming and expensive, but once you have a dedicated space, it can save time and money in the long run. You won’t have to worry about finding a suitable location or setting up equipment each time you need to create product photographs.
5. Versatility
A photography studio can be used to create a variety of product images, including clothing, jewelry, small electronics, and more. This makes it a versatile tool for e-commerce businesses that sell a wide range of products.
Overall, a product photography studio is an essential tool for e-commerce businesses that want to create professional, high-quality product photographs that showcase their products in the best possible way. It can help increase sales, create a professional image for your business, and save time and money in the long run.
Setting Up for the Perfect Product Photography Studio
This process involves several steps that will make sure that the product looks its best and captures the attention of customers, for this purpose we will need a product photography studio setup including:
1. Choosing the right background
Choosing the right background can have a big impact on how the product is perceived. A clean, neutral-colored background like white, gray, or black is usually a safe choice as it also helps the product stand out and keeps the focus on the product itself.
2. Use of Proper Lighting
The use of proper product photography lighting is essential for capturing the product in the best possible way. Natural light is often the best choice for product photography, but if that is not an option, we can use artificial lighting. But the diffused lighting should not be too harsh or too bright.
3. Using a Tripod
Using a tripod will help in keeping the camera steady and ensure that your images are sharp and in focus. It also makes it easier to set up your shot and make small adjustments to the composition as needed.
4. Choosing the right camera and lens
Choosing the right camera and lens can make a big difference in the quality of your product photos. A camera with manual controls and the ability to shoot in RAW format will give us more control over our images and makes it easier to edit them later.
5. Consider the product’s context
Thinking about where the product will be used and where it will be displayed when setting up our shots is very crucial. For Example, the clothing products would be best shown on a model or a mannequin. If we are photographing a piece of furniture, it would look great in a room setting.
6. Editing the photos
Even the best photos can benefit from some post-processing. So, using the right photo editing software to adjust the brightness, contrast, and color balance can make them look their best.
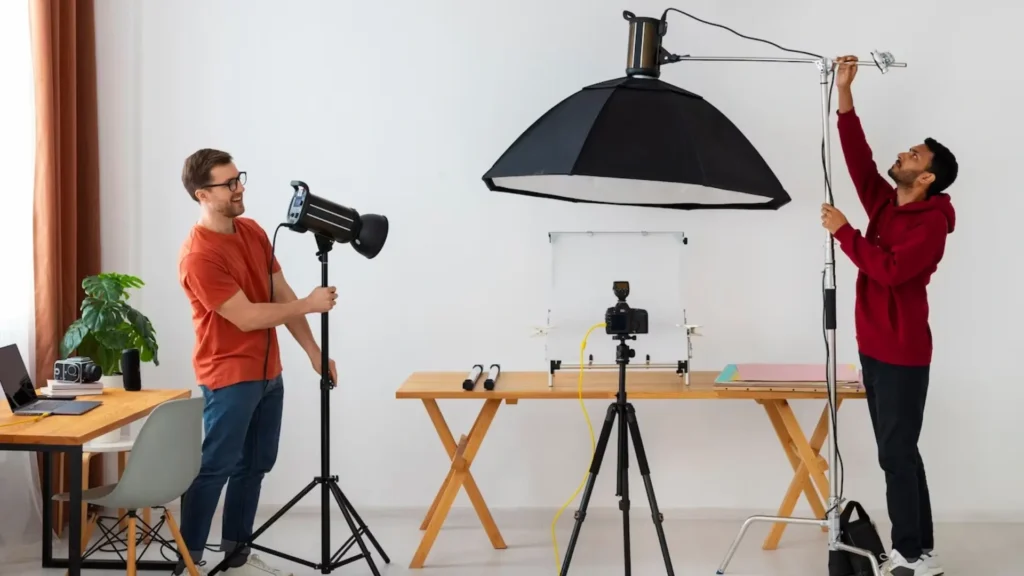
Components of an Efficient Product Photoshoot Workflow
An efficient product photography ideas photoshoot workflow involves several key components that work together seamlessly to produce high-quality product images efficiently.
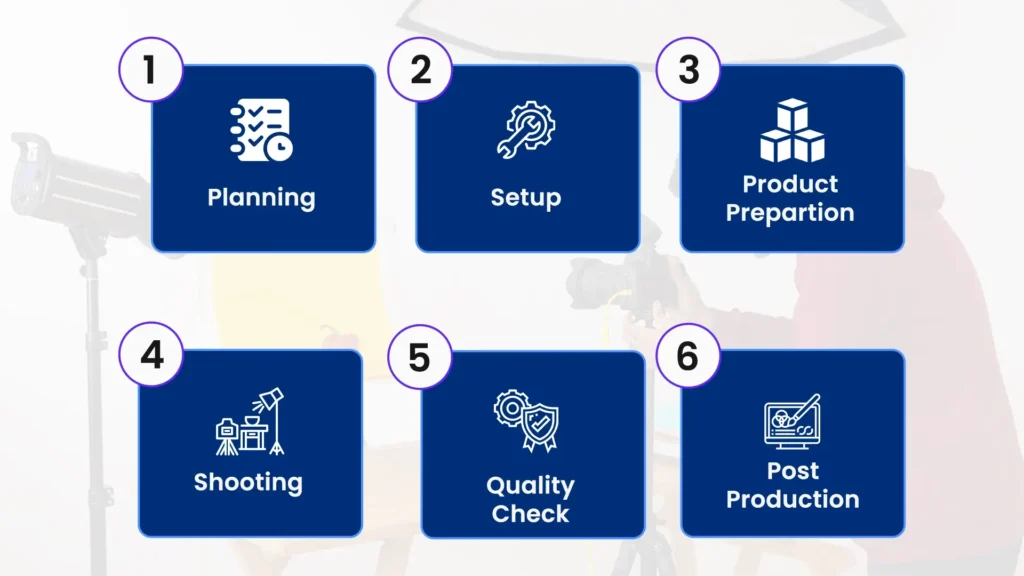
1. Planning
Planning out the logistics and creative direction for the shoot beforehand. Determining product specifications, shot list, lighting setup, and for any other details necessary to ensure a successful shoot.
2. Set-up
Setting up a studio or location for the shoot. Setting up the right camera, tripod, lighting equipment, and other gear needed for the shoot. Testing and adjusting the lighting and camera settings.
3. Product Preparation
Preparing and cleaning the product to make sure they are in good condition. Depending on the product, we may even need to assemble them.
4. Shooting
Taking the product photos according to the shot list and creative direction. Taking multiple shots of each product from different angles and with different lighting setups.
5. Review
Review the photos periodically throughout the shoot to ensure that we are getting the desired results. Thus making any necessary adjustments to the lighting, composition, or camera settings.
6. Editing
Editing the photos with the help of photo editing software. Adjusting the brightness, contrast, color balance, sharpness, and other elements to make the product look its best.
7. Post Production
In studio product photography, post-production involves extra steps like cropping, resizing, retouching, or combining images. These steps can vary based on the specific needs for the final product images.
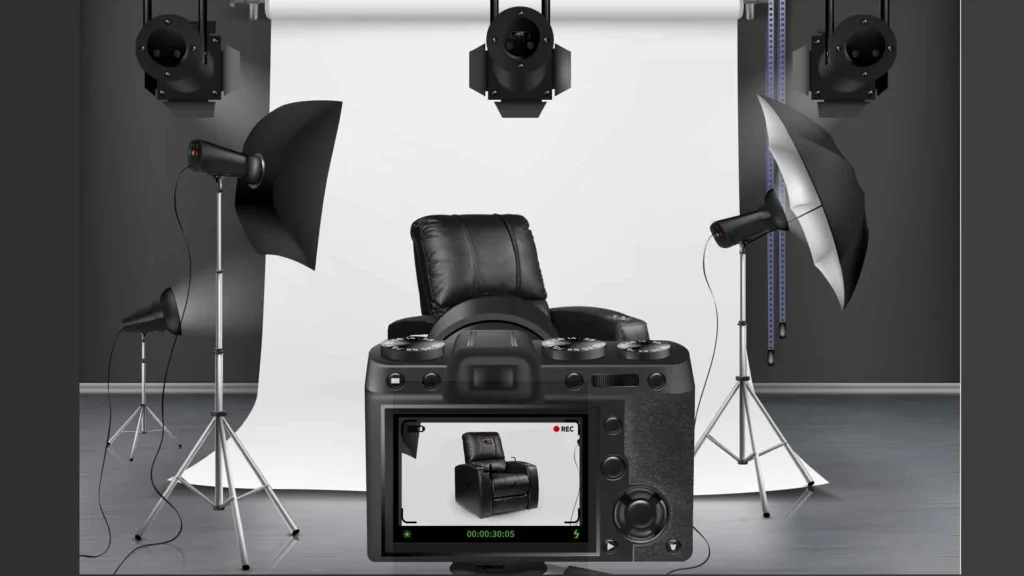
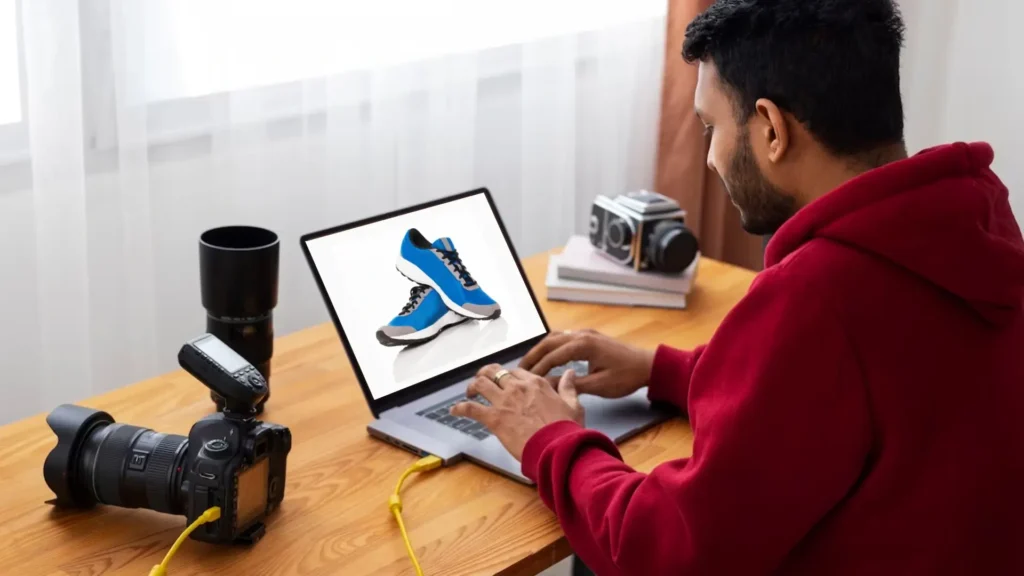
Getting Professional Shots and Post-Production Processing with Spyne AI
We can get professional product photography shots and post-production processing with the help of our ai application. The app’s intelligent camera provides a guided shoot so that you don’t end up clicking anything less than perfect. It validates the captured image and warns the photographer to reshoot if any of the following aspects, like angle, exposure, frame, and image clarity, need improvement. The technology only approves the shot if all the basic elements are approved.
Once you have clicked images that are validated by Spyne’s AI technology, the next step is to sit back and let the editor do the job. It provides 100+ choices of backgrounds, including custom backgrounds. Based on the concept of your inventory photography, you can go ahead with any one of these backgrounds.
The editor transforms not only the background but also the floor. Apart from the background and floor, the editor also enables a shadow generation effect on the floor and at the backdrop. Traditional photography is great, but Spyne is the ultimate solution.
If you still think that traditional product photography is what you would opt for, consider the many advantages of our photo editor.
1. It eliminates the hefty cost of the traditional / process. From hiring a professional photographer to renting a product photo studio and spending on production, who wouldn’t want to save thousands of bucks that could be spent elsewhere in the business?
2. Our editor helps sellers create consistent brand language. A catalog where every product is displayed in a different manner with different editing style exudes unprofessionalism. Therefore, you can easily edit images in bulk.
3. Scaling a product catalog becomes 10x easier with us. Every time you make new additions to your inventory, you won’t have to go through the humongous task of photoshoots and editing.
4. Smart sellers can actually save 75% of cataloging costs by using Spyne. Therefore, here’s your cue to work and earn smarter, too.
Spyne AI Virtual Studio
Our AI Virtual Studio provides various features:
1. Guided Shoot and perfect outputs, which are easy to use and they capture every angle like a pro.
2. Modeled to shoot at scale simultaneously across locations. It is intelligent on-edge shoot validations. Flexible to click images anywhere.
3. Edits automatically with AI. It has highly precise AI models to automate post-production and edit images instantly. So, it chooses from 100+ backgrounds, sets up custom brand image guidelines, and edits images in seconds.
4. Give your buyers a customized shopping experience according to their requirements. One can look for a desired product with the desired character by applying filters on your online inventory.
Product Photography Studio Equipment You Need
Equipment needed in an ecommerce photography studio can be costly but are worthwhile. If chosen carefully, your equipment can influence the fees for your services. These equipment include:
1. Camera
You don’t have to focus on a fancy camera setup for your product shoot studio. Using a Nikon D810 (costs about $2,000) with a 105mm f1.4 lens ($740) is great but unnecessary for this situation. Start with whatever tools you have nearby, and see what happens. People often believe the camera does all the work in photos, but that’s untrue. A photo comes from various choices, like lighting, brightness, appearance, and editing after the picture is taken.
2. Tripod
Let’s simplify things. You’ll set your camera to a small hole to get lots of focus. This focus area is decided by the aperture, which you’ll make big (like the f/stop number). Shutter speed and f/stop team up. When you pick a larger f/stop number, like f/8, it allows less light. To fix that, you’ll use a slower shutter speed to let in more light. This works wonders, even with a basic product studio photography kit.
3. White background
You’ve got plenty of choices for a white background. If you’re planning to do a bunch of shoots, consider getting a white sweep from Amazon. A super affordable choice is to visit your nearby drugstore or art store and grab some poster board. You can find it for as low as $7 for 10 sheets. Therefore, make sure to pick pure white, not off-white or cream, as that can make things tricky.
4. White bounce cards made of foam board
When doing product studio photography with window light, you’ll notice one side of your product gets bright where the light hits, while the other side might stay too dark in shadow. To fix that shadowy side, we use something white to bounce the light back and make it brighter. So, that is where foam board comes in handy—it’s solid, white, and works wonders as a bounce card in your product studio photography setup.
5. Tape
Depending on your table, you can use tape or clamps to hold your board in place, making sure it stays smooth and covers everything nicely.
6. Table
The best table to use is a regular folding table that’s around 24 to 27 inches wide.
7. The right room
For product photography companies, a room with windows alongside a wall is perfect. The larger the windows, the more natural light you’ll get. When you’re near the window, the light is soft with gentle shadows. As you move away, the light evens out, but the shadows become lighter and sharper.
How to photograph your product on a white background
To make sure you get the best clicks you need to make the best out of the product photography studio equipment. Here are some tips to help you get the best out of a white background.
1. For the best light, set up three lamps—one above and one on each side. This way, you’ll have great lighting from different angles.
2. Put a white piece of paper or card behind your product. Somehow, this helps brighten up the background and make your product stand out better.
3. Switch off all other lights in the room, even sunlight coming in through windows, so the lighting in your picture stays the same throughout. This makes your photo look more even and consistent.
4. When you’re just starting, take more pictures than you think you’ll use. It’s better to have too many than not enough.
5. Don’t use flash
Reasons to Use Window Light Instead of a Light Tent
Some of the reasons for using window light are:
1. Natural light is more flattering. Window light is softer and more diffused than artificial light, which can create harsh shadows and make people look older.
2. You can use window light to create a variety of different looks, from soft and romantic to dramatic and edgy.
3. Light tents can be expensive, so you don’t need to spend any money to use window light.
How to Build and Customize Your Own Photography Studio
Building a product studio at home means we have complete control over the lighting, setup, and creative design of the photo shoot. This product photography setup at home allows us to craft images with precision and attention to detail, ensuring our products are showcased in the best possible light.
Building our own product studio involves a few steps:
1. Choose a location
Choosing the right location which is well-lit and has enough space to accommodate our studio setup. A spare room or a basement can be a great option.
2. Setting the backdrop
Backdrops must follow two basic principles,
- It should describe the product
- It should not take away the focus from the product
Alternatively, You can use a white background, specifically if you think that background will take away the focus from the product. You can find many examples of product photography backdrop on the internet, for example, patterned glass, wooden floors, etc.
3. Setting up a table or platform
Set up a table or platform to place the product for the photoshoot. So, we can use a plain white or black table or a custom-designed platform.
4. Creating a dedicated workspace
Creating a dedicated workspace for photo editing and processing. This can be a separate desk positioned near a computer.
5. Organizing your equipment and supplies
Keeping your equipment and supplies organized and easily available. Therefore, use properly labeled storage boxes and place them where they are easy to find for everyone.
6. Using a color scheme
Use a consistent color scheme in your studio to create a cohesive and professional look. Therefore, you can even use colored backdrops, props, and accessories that match the brand or product style.
7. Personalizing the space
Personalizing the space makes us feel comfortable and welcome. We can add artwork, plants, and other decorative items that reflect personality and style.
This is what matters the most. Because at the end of the day, the purpose of creating a stunning product catalog is to sell your inventory online. Our AI photo editor drastically increases the conversion of your catalog.
Conclusion
Technology is evolving, and your business needs to evolve alongside it. The better you understand your consumers, the better you can attract and engage them. For successful digital retailing, you need to create a top-quality virtual platform, which Spyne AI has already done and made our lives much more hassle-free.