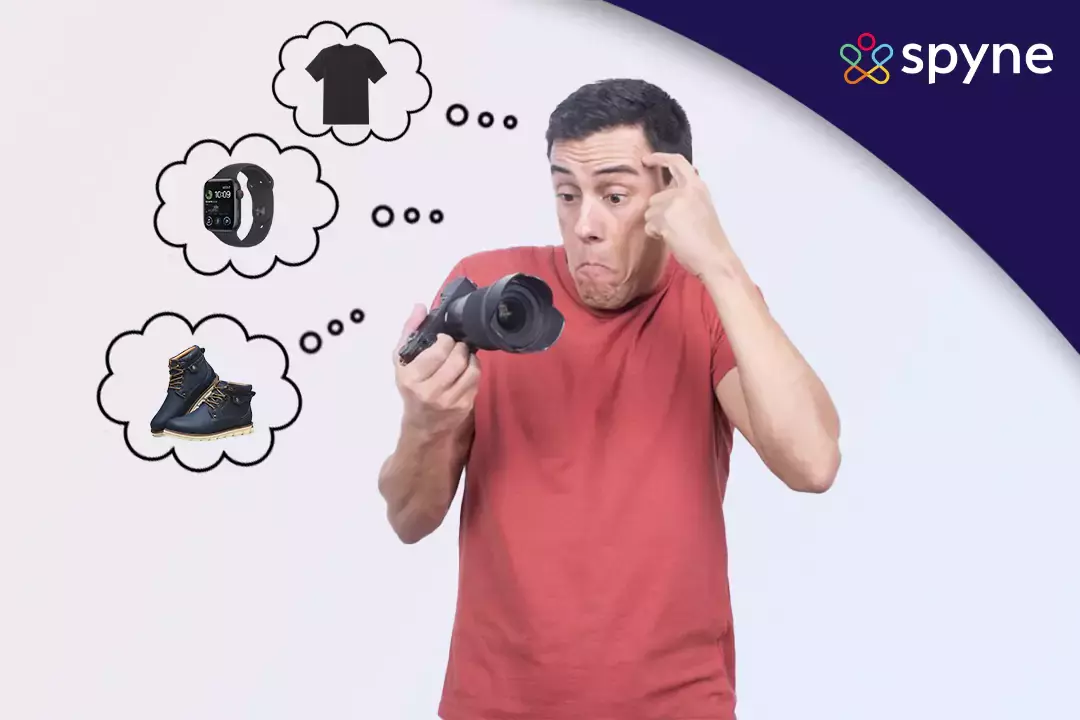
Product photography is a skill that takes years to develop. You should know various concepts and have good taste in images. This takes time and experience, and you will only improve as you engage in this field. (Do It Yourself) DIY product photography will help you gain much-needed experience in this field.
What is DIY Product Photography?
Not every business person can afford to hire a professional product photography studio. So they can take images of their products themselves. This is the easiest explanation of DIY (which means Do It Yourself) product photography. Taking photos of your product and editing it to your satisfaction in order to make the product look appealing. Let us make walk you through this maze and explain everything that you need to know regarding DIY product photo booth.
Product Photography Equipment you will Need
To get started with DIY Product photography, you will need equipment if you want to match the quality of images a studio would provide. The list is as follows,
1. Camera
There is no need to buy a DSLR system. An older model of the Canon G series will work as well. They are recommended because they will be able to go fully manual. But it is also a myth that you need a great camera. If your phone has a good camera and does not take blurred images, then you can use your phone’s camera as well.
2. Tripod
This is to only give stability to your camera, which might move a little when in your hands. You can obtain this for $20-$30. You can also find many videos on youtube about setting up your camera on a tripod.
3. Background
There are many options to choose from if you are looking for backgrounds for your product. Backgrounds could be made irrelevant to the product or can help express your product. It would depend on your creativity and ingenuity. White can be used if you do not want any background and want the entire focus should be on the product. Keep in mind when trying to choose DIY photo backdrop fabric, that it should reflect suitable light.
4. Bounce Cards
When you use natural light from a window, you will see that there is a brighter side and a shadow side. In order to even out this disparity, you can use bounce cards. More precisely, you can use white foam bounce cards. Alternatively, if you want to make shadows deeper, then you can use a black foam bounce card.
Tips for Creating Eye-Catching DIY Product Photography
Here are some tips to help you catch the customers’ eyeballs.
1. Use White Card
This is our secret weapon as it provides us with clean and white background for our shoot. A big sheet can also be used as an infinity curve. This also helps reflect light towards the product if you have a lighting problem. It is great equipment for photography if you keep it clean. This helps to create endearing DIY background for product photography.
2. Glass as a backdrop
A widely popular creative idea for product photography background is using glass. Glass is quite versatile and can reflect its surroundings. We recommend experimenting with glass items in your house, and the result will be clear when you compare it with images without using glass. This is the perfect DIY backdrop for product photography.
3. Lazy Susan for DIY 360 Product Photography
Lady Susan is a kind of table that turns and spins to serve people food on that table. You can add cloth tape to the table in order to turn it. Then keep turning the table as you record it. You can use glass and white cards for effect as well. The result would be an interactive product video.
4. Natural Shots
Natural images are preferable if you want to capture images of lifestyle products. Studio, in this case, might not be able to fully express the product. Nature provides positive aesthetics to the product, which makes the image look pleasing to the customers. Furthermore, you won’t have to pay for any accessories to shoot with nature.
DIY Tabletop Photography Setup
Before you start DIY product photography on the tabletop, you need to prepare the table, so you will need some things. These include
- A table
- White paper, Kraft paper, Black paper, etc for background
- A stand if the product needs it
- The window for light from it
- A tripod for the camera
- Clips to hold stuff
Now that you have gathered all these, you can start setting up the tabletop. Creativity will be key for clicking eye-catching images. All these tips will ensure your DIY Product Photography Table is perfect for use.
1. Patterns
The patterns on the table should be clear, and the table itself should be clean. If the table does not have a pattern then you can put a glass that has one. If you are not looking to keep patterns in the background of the image, then it would be best to use white/black paper.
2. Lighting
We mentioned that you would need a window. That is because the lighting is very important for every kind of photography. A window (preferably a big one) will provide light for your image. The aim is to create an evenly lit tabletop so that camera settings can be adjusted to get the image you want. The lighting of this kind will change on the tabletop depending on the time of the day, so if you want an image with a certain intensity, then you can wait for a suitable time.
3. Unlimit the table
Try to add more than a background pattern or lighting to the table. Any item will work if it compliments the product. These items can explain the ingredients of the product, or they can also explain a product’s purpose. This can also help in giving details about the product in the image itself rather than making the customer go through the description. This will help in beautifying your DIY photography table.
DIY Product Photography Lightbox
Lightbox is an object which is illuminated from behind. It is used in photography to remove the need to shoot photos in sunlight. This is what you will need if you don’t want to depend on sunlight for your images. Here are some steps for DIY lightbox photography
1. Cardboard Box
If you want the lightbox to be perfect, then take a cardboard box (bigger is better as more variety of items can be shot in this) and cut a hole either from the back or from the sides. You can cut it either way because that would depend on whether you personally like the image from back lighting or side lighting.
2. White fabric
Use this white fabric to cover the windows so that light does not fall on the object with complete intensity. These will be able to absorb the light thereby reducing the intensity of the light to a pleasurable level.
3. Place Background
Here we can place the background for the product. It can be translucent white if you have made the window on the back, or it can be an opaque background that might have or does not have patterns, depending on your product. This will make your lightbox your very own DIY photo studio box.
DIY Product Photography for Ecommerce
Doing your own product photography is quite challenging. Especially when your images will decide the popularity of your product. Here are some ways to do your product photography yourself
1. Images should explain the product
Try to keep something in the background which can explain the ingredients or character of the product so that the customers don’t need to rely on the description to get a sense of the product.
2. Lighting
Make sure that there is enough light to click a clear and accurate image of the product. Make sure that product in the image has exact same color as the real one and does not get changed due to lighting. There should be careful DIY photo backdrop for products so that the backdrop can be designed to keep the lighting in mind.
3. Use the product
Show a model in the images using your product. This can also help the customer understand the product better. These images will also build trust with the customer.
4. Different Angles
Your product should show the product from every direction to the customer. This also builds trust with the customer as more details are given to the customers so they can see the product themselves.
5. Over Editing
Do not do overediting in your images, as customers might get the impression that you are trying to hide some information. This can greatly impact the customer’s trust in your product.
DIY Product Photography Retouching and Editing
Over-editing is bad, but some editing is required to make your image “glow.” There are several benefits of product photo editing and retouching. For example,
1. Visual Appeal
If the product in your image does not look appealing, then you can edit the image any way you like. However, be careful that you do not make any changes to the accuracy of the product. Customers can return the product if they think that images promised them something else.
2. Brand Recognition
Using patterns to set up a brand identity can work in your favor. Customers trust brands and their brand image. This will help customers trust the quality of the product.
3. Marketplace Standards
There are several restrictions and regulations in the marketplace about images. This makes it important to edit the images in order to make them align with marketplace regulations.
There are two ways of editing the images.
Manual Editing
Here are some steps of manual image editing
- Cropping and cleaning images
- White balance adjustment
- Exposure and Contrast Adjustment
- Color Vibarancy and Saturation images
- Share
Automated Editing
Automation is a gift for businesses that wish to edit images. Automating this task is affordable, fast, and saves manual effort, which can be used for more productive tasks. You can perform such actions by creating a program in your system, but that requires a lot of expertise, time, and effort. Instead, you can hire online product photography services. Spyne can offer you this automated experience without the hassle of hiring photography studios, thanks to its API Script. Spyne will use Artificial Intelligence which is trained in more than 25 million images, to give you the best results and a lot of crucial features for ecommerce and online retailing. These include background replacement, checking the lighting and angles of the image, checking for vulgar images, adding margins, etc. These tasks will take a lot of effort if tended to manually. Spyne makes these tasks fast and efficient. This will result in reduced time to market for products and effective cost-saving measures. You can try Spyne in the darkroom provided.
Optimizing Your Images for Web
We need to take into account three important things.
1. Organizing Images
- Tag images into categories.
- Maintain the photos and delete any unnecessary ones.
- Keep Backup for the images in case of emergency.
2. SEO for ecommerce
- Use words to describe images accurately.
- Provide alt text in case the website cant generate the image.
- Image size should not be more than necessary so that the image does not take a long time to load.
- Use the right type of image type.
- Try to provide an image sitemap.
- DIY backdrop for clothing photography as well as product photography is very important in ecommerce.
3. Marketplace Guidelines
- Use of precise image names.
- Alt attributes should be optimized carefully.
- The image dimension and angles of the product should be scrutinized carefully.
- Carefully choose the image format.
- The memory of the thumbnail should be low.
Conclusion
DIY Product Photography is a skill that takes a lot of effort to make sure that it is done correctly, and the product has now more value in the market thanks to photography. These correct efforts include a DIY white photo backdrop to reflect light and keep the product at the center of attention. In this blog, you have received information about everything you need to try product photography yourself. You will also have to edit the image you take in order to make the product more appealing. Spyne automates this and gives you a solution quickly and affordably.

