
E-commerce is a hugely successful industry, especially in recent years. Amazon reported a revenue of $514 billion in 2022, while eBay’s revenue during the same year was $9.8 billion. Online shopping is easy and convenient, and its popularity continues to grow among the general populace worldwide.
If the website is not easy on the eyes, customers would stop browsing and instead go to other, more pleasing websites. Having good websites also includes good photos of the product on offer. So the knowledge of good product photography is necessary for anyone involved in the e-commerce industry.
Do you want to learn how to organize professional photoshoots for your online retail business or eCommerce marketplace? This product photography blog will give you all the insights you need, along with an intelligent solution that can help your business grow while reducing your effort and spending!
What is Product Photography?
Product Photography is photography used for website listings, catalogs, and social media platforms, to increase sales and appeal of various products and services of a business. It makes the product images more appealing and attracts the eyeballs of numerous potential customers. A product photography studio generally provides this service, and it’s done for eCommerce listings and advertisements. Professional product photography can be classified into different types, like individual shots, detailed shots, group shots, etc.
Amazon product photography has relatively high standards for boosting sales of its products. Hence, this product photography blog will ensure you have all the information regarding this kind of photography.
Why is Product Photography such a Big Deal?
Nearly 263 million people in the US – or 80% of the country’s population – shop online. These people primarily rely on images to judge a product, followed by reviews. Experts generally predict that this number will only increase, as will the competition in the market.
Even in offline businesses, advertisements (newspapers, posters, etc.) need to catch the consumers’ attention. Dull images would only help your products be lost in the market. Now, we don’t want that, do we?
Professional product photography has numerous benefits for online retailers, such as:
- Customers will have a better understanding of the product
- High-quality images will imply a good product quality
- Customers prefer to see actual photos of the product they want to buy instead of stock photos. So, displaying real photos of the product will build trust between sellers and buyers.
How does Product Photography differ from Regular Photography?
In product photography, the goal is to click appealing and realistic product images. This is to help the potential customer to get an idea of the item. It is vital for buyers who need help to inspect the item through the website listing or an advertisement. Hence, it’s the job of the image to convey the look and feel to the buyer.
In traditional photography, the photographer has more creative liberty. The subject might need to be portrayed more appealingly and realistically. The goal can be realism, artistic expression, emotional response, etc. The subject need not be an item; it can also be a landscape, animals, etc.
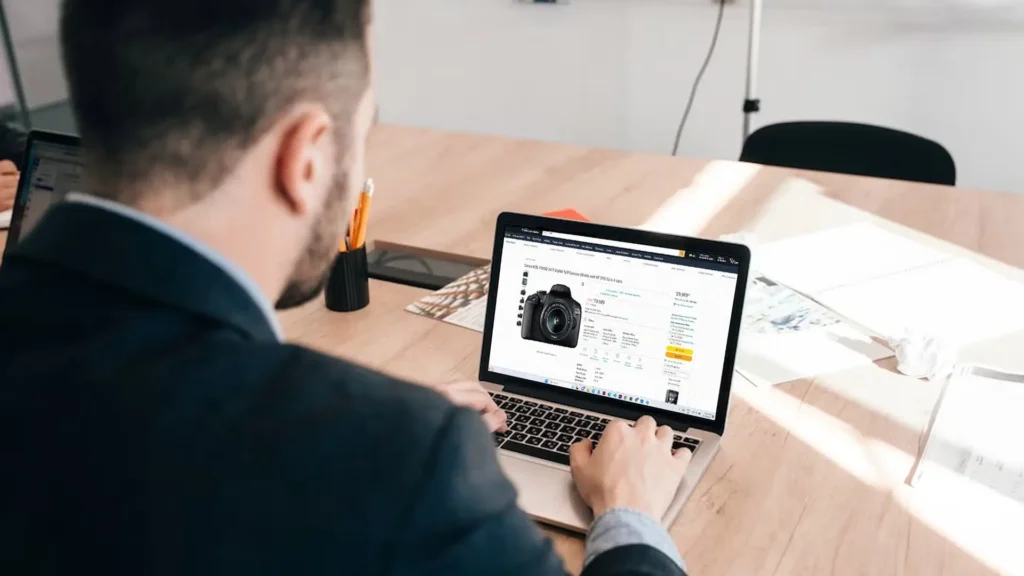
How Professional Imagery Increases Traffic in the Ecommerce?
E-commerce is a multi-billion dollar industry, with product photography at its backbone. All the products listed on ecommerce websites must build trust with their customers, and you can count on good product images for this job. Customers rely on these good images to better understand the product they are buying. These images also help in hiking the product photography pricing.
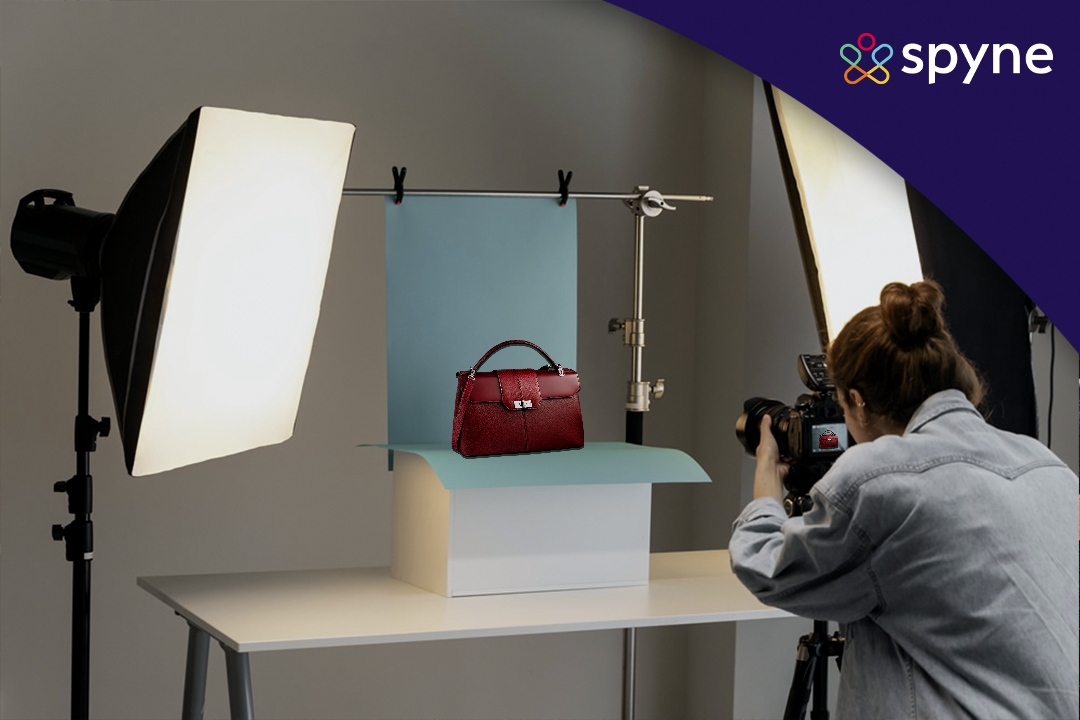
The way these images are presented also plays a significant role in explaining the product and capturing the audience’s attention. For example, if a product is set on a table, the image is very ordinary. But, if the same product is clicked while it is being used, the picture becomes dynamic, which is better for consumer engagement. Best for future product photographers would be to undergo a product photography course.
Product Photography Equipment for the Best Result
Are you interested in clicking the product images and need help figuring out where to start? The equipment listed below can also help you in product photography at home. First, let’s start with gear, including a camera, tripod, lighting equipment, etc., perfect for your product photography setup. Shopify product photography relays heavily on these cameras, lenses, etc., as they are reliable for photography.
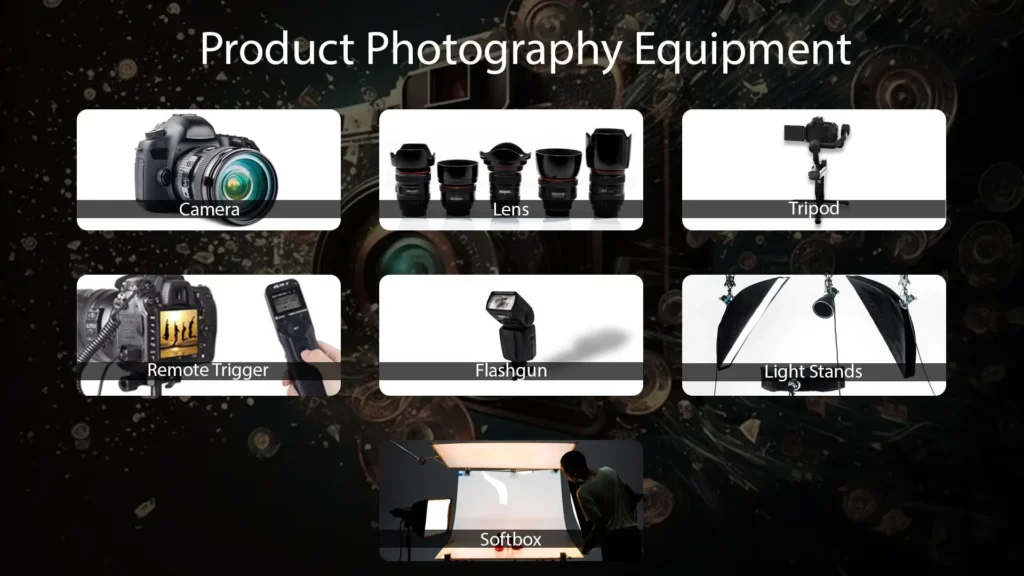
1. Camera
To start, you should have an excellent camera to get high-resolution images. If you are a beginner, then here are three good camera recommendations for you:
- Nikon D5200: It is a mid-range camera of excellent quality.
- Nikon D610: It belongs to the Cadillac model of cameras. Many professionals describe it as “high quality as well as affordable.” It also has a small file size of 24.3 Mega Pixel.
- Canon EOS T3: You can get it for an excellent price of around $450 and it is of excellent quality.
2. Lens
Now that you have a camera for photography, it’s time to select a lens for product photography. The lens comes in different types to take care of different needs. To capture product details, we recommended a macro lens. You can look for the following:
- Tamron 90mm 1:1 lenses
- Canon EF 50mm f/1.8 STM
- Sigma 124-105mm f/4.0 Art DG HSM Zoom Lens
3. Tripod
A steady image needs a tripod. There is no need to be expensive. Our recommendations are:
- Ravelli APLT2 tripod
- JOBY GorillaPod
4. Remote trigger
A remote trigger minimizes motion blur in images and camera shake. Its importance is realized while clicking for a white background that must be clear to the last pixel. Some good remote triggers are:
- Pluto Trigger
- PocketWizard
5. Flashgun
It’s an artificial light source necessary when shooting in a dedicated photo studio. You can attach it from the top of your camera or sideways from different angles, pointing at your product. Two good flashguns are:
- Speedlite by Canon
- Speedlight by Nikon
6. Light stands
It is similar to a tripod but does not hold your camera but your light source. This will give you complete control of lighting in the studio. You can find various good light stands according to your need. You can choose one based on parameters such as durability, size, height, etc.
7. Softbox
A softbox, also known as a light box, is positioned above the product to shine the light down at an angle of 45 degrees.
Read More: Python Development
How To Shoot Photos of Your Product?
Getting your gear is one thing, gaining the know-how of photography is another. You will also need some product photography ideas. White background can become necessary in your shoot if you want to put the product in complete focus. Let us understand this complex process as well as some intriguing ideas.
Product photography step-by-step guide
1. Set up the surroundings
It is imperative to keep distractions in your image minimal. If the product can be placed on the table, then place the table as close to the window as possible. Make sure the shadow of the windowsill is not observable in the frame. Remember to turn off all other lights in the room. Product photography at home can help you in reducing the costs of photography.
2. Set the sweep
The aim is to have your sweep from flat to vertical. Roll up the board for it to reach that shape. Your product should be in the center, on the flat part of the sweep, but there should be enough space for a white reflector card.
3. Adjust the Camera
Here are the settings for the camera:
- Set the white balance to Auto
- Turn your flash setting off
- Set the image quality to the highest quality
4. Set up your product
This might look easy; however, ensure the brand image is centrally aligned, and labels should be centered.
5. Set up the reflector card
A reflector card is a critical light modifier. Light will bounce off it and fill the shadows of the product. Try it from different angles until you are satisfied.
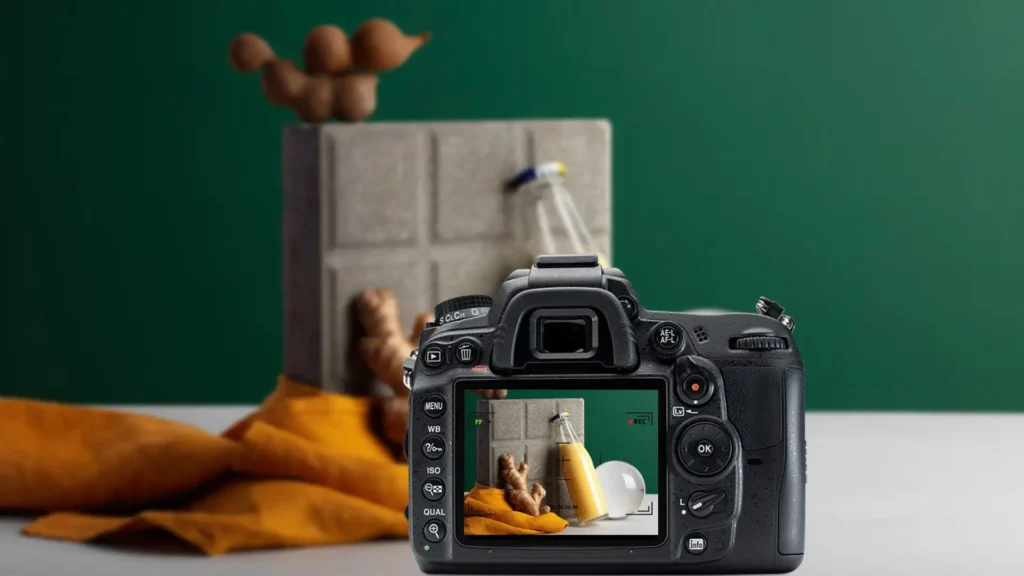
6. Click and evaluate
This is where experience comes into play. If you think the image you clicked looks good, your image is finally clicked. Now you can use optimization tools to optimize your image for the website.
Ghost mannequin technique
If you want to list apparel images, you will notice that portraying a product’s fit is difficult. Customers will appreciate knowing what a product looks like when it is worn and not what it’s like when it is lying flat.
So instead of hiring a model, we implement the ghost mannequin technique. It is one of the types of product photography. This technique involves editing photos of the interior and exterior of the garment and removing all traces of the model and mannequin. It leaves behind only a photo of perfectly representing product fit in 3D. This technique has a lot of advantages, like:
1. Cost-effectiveness
This is much more affordable than hiring a model. Product shoots can be achieved by clicking the apparel and editing it later.
2. Clarity and transparency
This kind of photography clearly shows the customer about shape, size, and drape of each piece of apparel.
3. Consistency
This will give your ecommerce website a consistent and unfirm look. This will cause products to look professional and polished to a potential buyer.
4. Competitive edge
A trust-building website with professional product photography will make the website stand out from others and push it into the limelight.
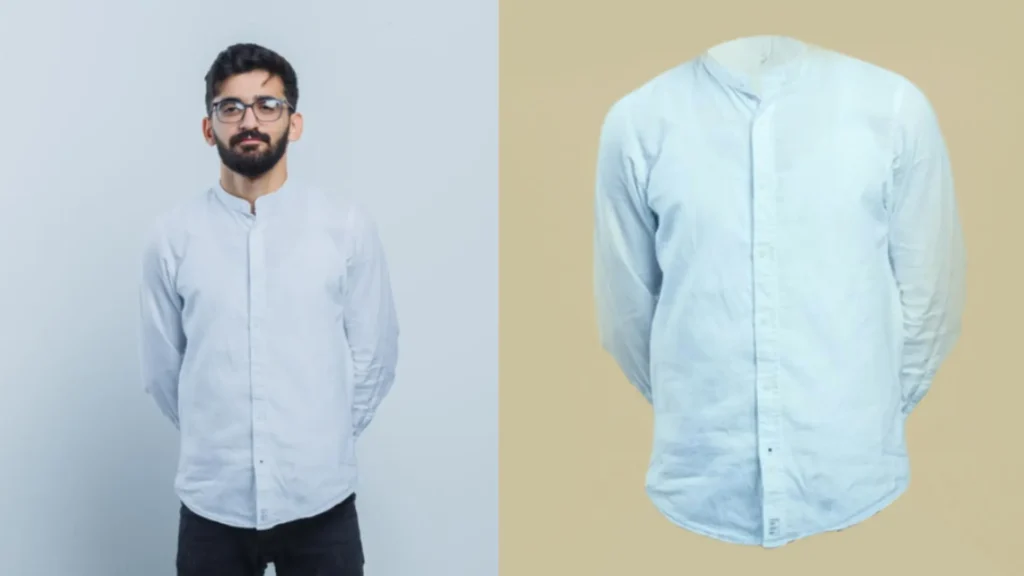
Here is an example of a ghost mannequin. The shirt shown above was originally worn by a model and removed from the image in post-processing, leaving only the apparel. Doesn’t it seem to be worn by a ghost? Hence the name! Other types of product photography are also common and are used per the product’s specific need.
Product Photography Examples
Now, let’s look at some excellent examples. These are easy on the eyes so that we can look at them. These images can be considered product photography trends.
1st example

In this image, you can see how objects are used to complement the product being offered.
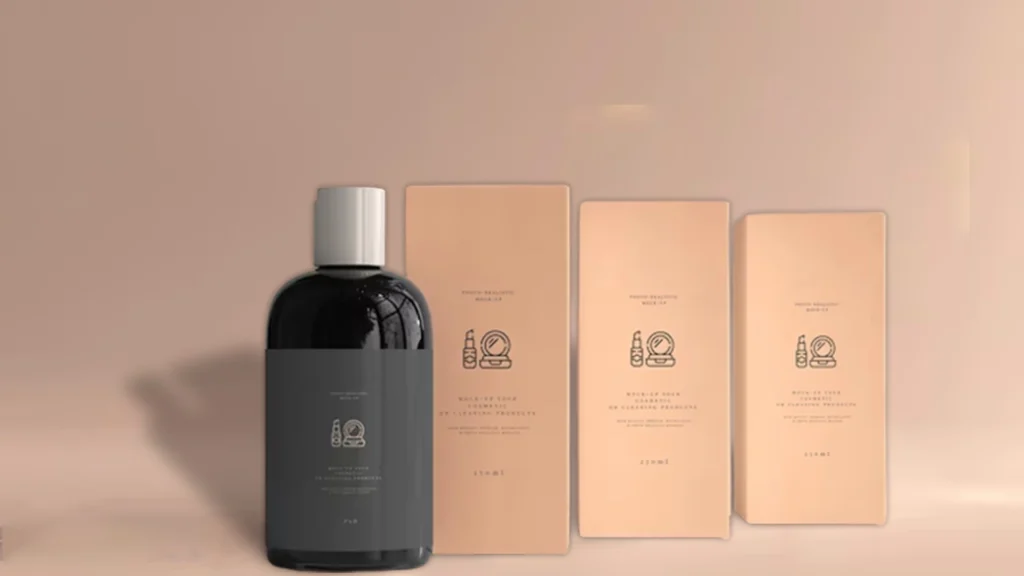
2nd example

Multiple products here complement each other in this image. This is an example of multiple products collectively improving the picture’s appeal.
3rd example
Here the product is clicked in its different form and in a way to make the photo more appealing and exciting.
4th example

In this example, cups are shown in a way that attracts the eyes of potential customers to it.
5th example

In this image, the subject is at the center of attention without distractions.
In-house vs Outsourced Product Photography
Let’s first define these two terms. When the entity does all the product photoshoot-related processes like a plan, shoot, operation, and management, it is called In-house Product Photography.
On the other hand, in outsourced Product Photography, you would delegate all these tasks to an external entity. In choosing between them, many significant factors influence the decision-making process.
Ideally, if you have time to learn this skill, you should go for in-house photography, but if you need images quickly, it’s best to outsource it. There are also other factors, such as:
1. Number of images needed
If your requirement is under 1000, you should outsource the process and save time and money, but if it’s more than this, it’s best to set up a proper studio for this affair.
2. Still images or 360 images
As you can imagine, 360-degree images are much more complex the still images. Hence, it would be wise to outsource 360 pictures and try to get still images In-house.
3. Project scope
Keep in mind your long-term plan. If your business needs a lot and will keep needing a lot of images, then it will be best to get the images in-house and invest in the capability, while if your need is one-time only, then it’s best to outsource this work.
Common Product Photography Mistakes and Avoiding Them
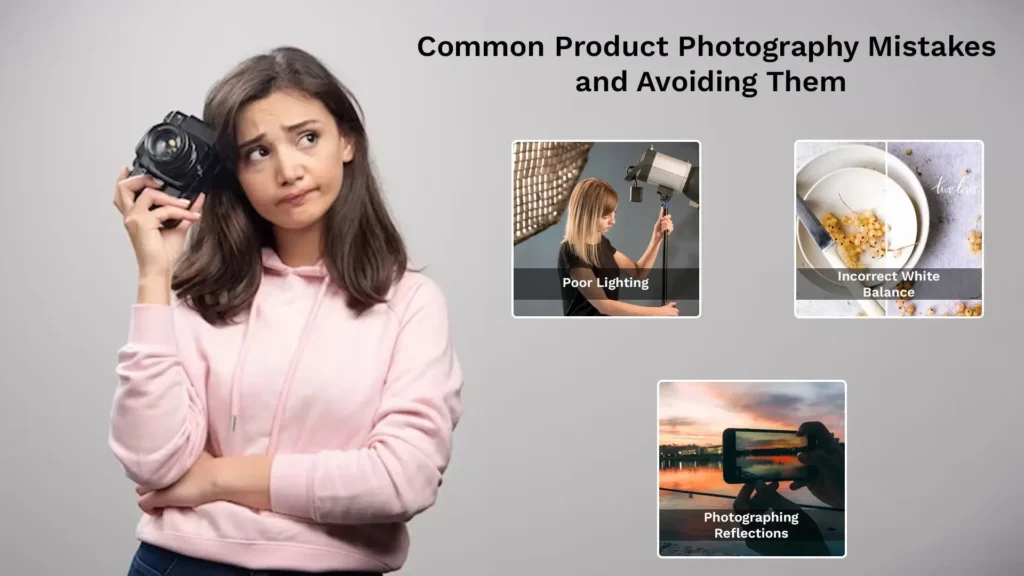
Some common mistakes when photographing products are as follows:
1. Poor lighting
Lighting is crucial in all photographs. Knowing what kind of lighting will best suit the product is essential. There is also little you can do when the lighting needs to improve. One of the mistakes includes using a mixture of light sources. It can be avoided by using a lightbox. Product shoots must have proper lighting for their adequate inspection.
2. Incorrect white balance
The white balance makes sure that the color of the product remains accurate and true to the original. If the image has added a little yellow/red/blue, then the white balance is an issue. LED or fluorescent might add blue, and natural light might add yellow/red. So balancing it out is essential. You can use auto mode in your camera as a last resort.
3. Photographing reflections
If the lightings are correct, then problems arise due to reflections. Multiple light sources can cause a problem in this respect. Using diffusers with a light source can resolve a lot of issues here. This will help you in innovating new product photography trends.
Improve your Product Photography with Spyne
As you can see, a product shoot is lengthy and complex, demanding time and resources. Also, product photography prices are high, as you need to rent a studio, hire professional photographers, invest in expensive equipment, etc. These are only some of the problems an e-commerce website faces.
When you create product listings or run ads, you need to moderate them for possible vulgar or incorrect images. Running these checks manually is possible if you only have a few products, but moderation and quality checks become difficult as your portfolio grows. Ecommerce photography will ensure the rapid growth of your portfolio.
Spyne recognizes these problems, and we’ve come up with a solution for these difficulties. So leave this to our API, as it provides an affordable and quick solution to all these problems. Our AI systems can detect the following issues in product images:
- Cropped item
- Blurred Item
- Poor lighting
- Reflections
- Shadow on product
- Distance from item/ Size of item
- Low picture resolution
- Watermark detection
- Product placement in an image
- Category Validation
- Multiple object detection
- Inappropriate graphics/profanity in images
Furthermore, it will also automate the image editing/transformation for:
- Straightening the edges
- Price/ Mfg/ Expiry date removal
- Extracting nutritional value from packaged food pictures
- Background removal and replacement
- Shadow Generation
- Exposure/ Color Correction
- Tilt Correction
- Image resolution Correction
- Marketplace Resizing
- Product Placement Adjustment
- Auto-Sequencing of Images
Why don’t you book a demo? We’ll explain in detail how Spyne works and how it can help your business.
Conclusion
Product Photography is for talented and detail-oriented people passionate about their work. The process is complex, time-consuming, and costly. Even if a beginner wants to click images for the products, he can make many mistakes even though much effort is put into the process. All these things answer a specific question: what is product photography?
If you run an eCommerce store or an online retail business, and are looking for ways to improve your product listings and ads, Spyne is one of your best options. The guided product photoshoot and automated editing will simplify your life without burning a hole in your wallet!