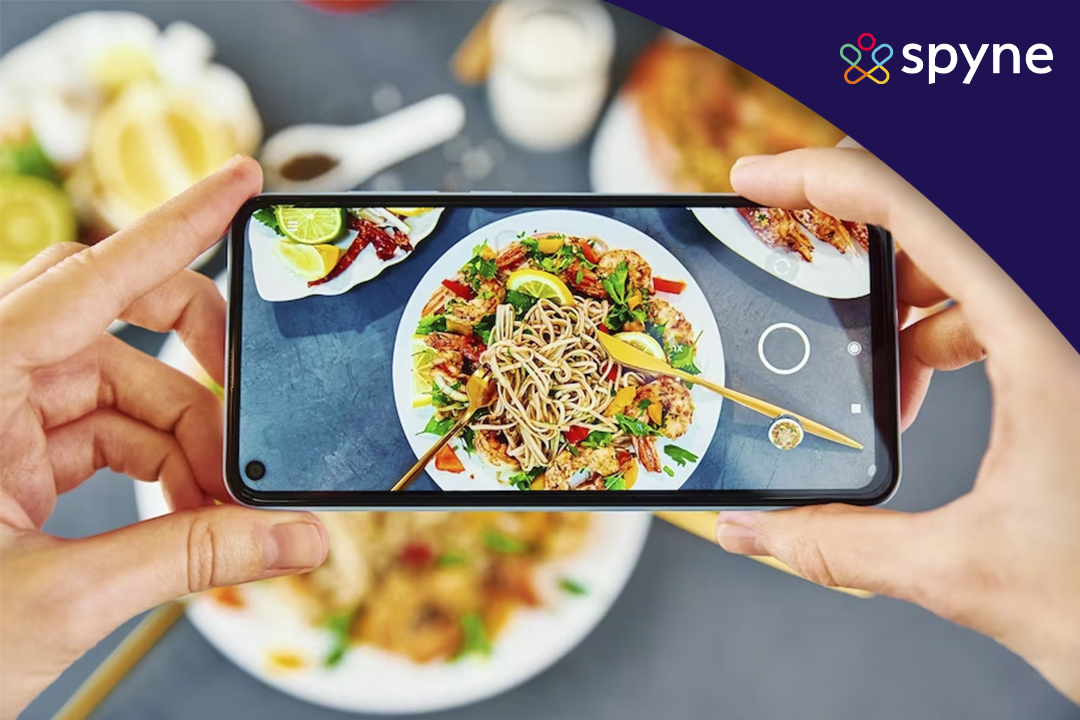

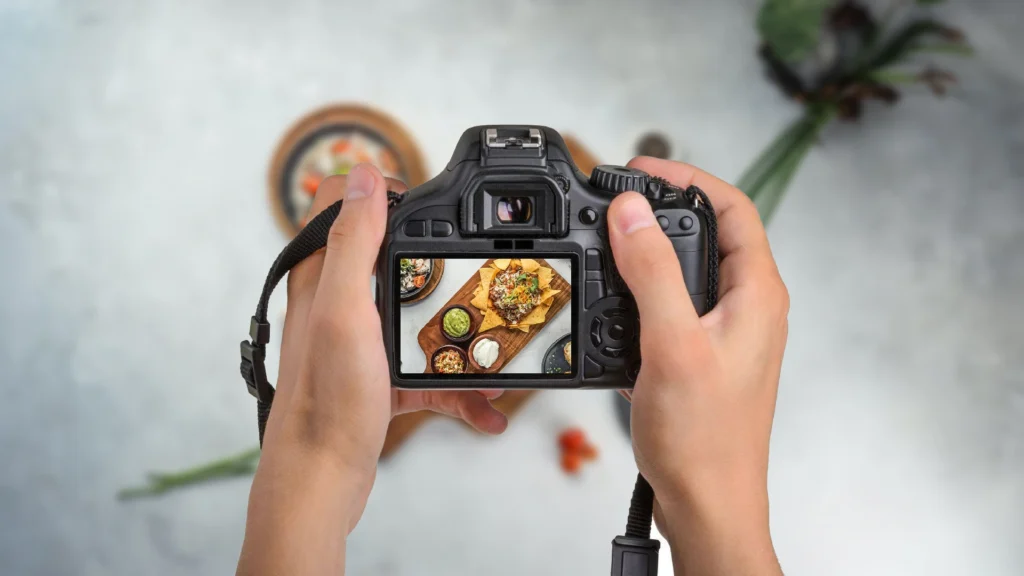
Picture this: You’ve just started a new restaurant (or a cafe, cloud kitchen, etc.), and you want to list your business online. You whip out your smartphone and click pictures of your food items, but they don’t look as good as you’d hoped. Even after spending hours on a photo shoot, your food doesn’t look as good as your competitors. That’s when you realize that clicking pictures may sound easy, but it’s really not!
There’s nothing to worry though! This blog tells you everything you need to know about food photography, how to do it, and some essential tips for success. We’ll also tell you about an intelligent solution that makes clicking professional-grade pictures a cakewalk.
What is Food Photography?
Food photography is a type of photography that focuses on taking pictures of food as the main subject. These pictures are used for packaging, cookbooks, billboards, and advertising materials. It typically involves capturing images of food dishes, ingredients, and beverages to make them look appetizing and appealing to the viewer. The primary purpose of food images is to make the food look attractive to the viewers. It is done mainly by restaurants and other food businesses to stand out.
Food photographers use various techniques to create visually appealing images, such as lighting, composition, and color coordination. They often work with chefs and food stylists to ensure the food looks its best for the camera. Food photoshoot is used in various contexts, including advertisements, cookbooks, magazines, and social media.

Why is Food Photography Important?
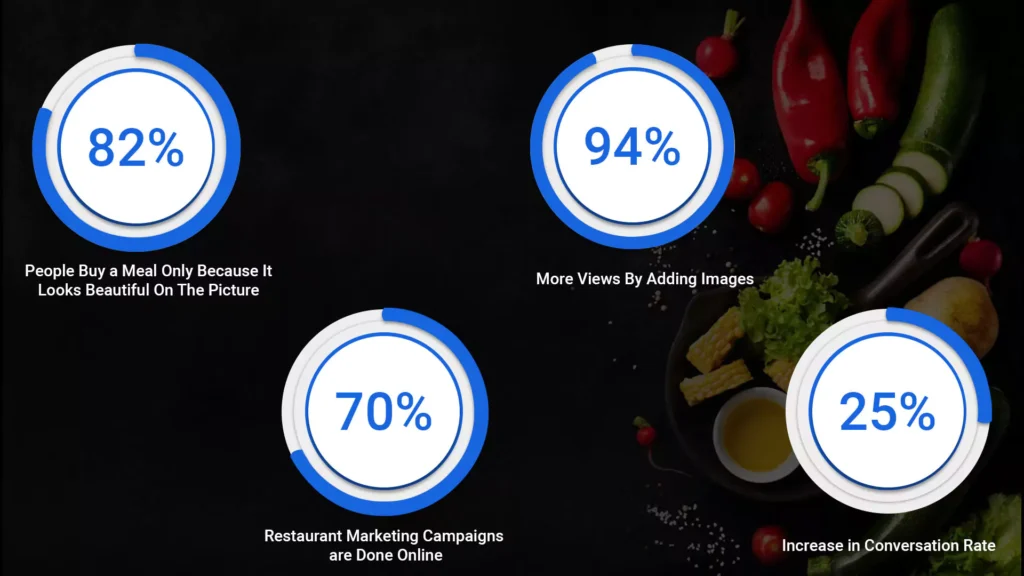
Creative food photography is vital for promoting food, branding, and social media, establishing a strong visual identity for businesses, and increasing sales and customer engagement. Studies show that people remember more when information is presented with relevant images, making food photography especially important for restaurant websites and menus. Showing better images of sustainable and healthy foods on food photography websites can inspire people to make better choices and even show some support to farmers and producers. Having quality food photos is absolutely essential cause processed and fast foods are becoming popular in our society.
In the online space, high-quality food images are even more critical. Poor-quality pictures can deter customers from ordering and drive them to competitors with more appealing visuals. A good appearance creates a positive first impression, and quality restaurant photography builds trust in the customer’s mind, increasing the likelihood of repeat orders.
Food photographers also have a role in promoting healthier options and supporting local farmers and producers. In a world dominated by fast food and processed meals, captivating images of wholesome, sustainably-sourced dishes can motivate individuals to choose healthier alternatives.
By showcasing enticing visuals, food photographers contribute to the success of businesses, enhance customer perception, and encourage healthier food choices that benefit individuals and local food ecosystems.
How to Photograph Food?
Photographing food in the area of food photography can be a creative and rewarding process. Here are the 10 best steps for lifestyle food photography to help you capture appetizing and visually appealing photos.:
1. Choose the right equipment
You don’t need an expensive camera for great food photos. Entry-level DSLRs or iPhones are affordable and offer good quality, especially for blogging. Utilizing your technology matters more than having the best equipment.
2. Avoid using a flash
Using a camera-mounted flash in food photography is discouraged. It can flatten the appearance and eliminate natural shadows without specialized studio lighting.
3. Always have a tripod with you
Poor lighting is a common challenge in photography. A camera shake can ruin a shot and make it blurry. Using a tripod with exposures over 1/60 of a second can greatly improve stability and prevent this issue.
4. Select props thoughtfully
Although viewers may not consciously acknowledge them, the tablecloth/surface, plate, and cutlery choices subtly contribute to your shot’s overall mood and success.
5. Discover the optimal angle
Some recipes look great from a top-down perspective, while others require a lower angle. Plan your composition to focus on the food without distractions like glassware or cutlery.
6. Rely on your intuition when a composition feels off
If something doesn’t feel right, it’s likely because it isn’t. Break down the setup and start anew. You may incorporate a few elements from your previous composition, but approaching the idea differently can yield better results.
7. Minimize food sitting time
Some herbs and salad leaves wilt quickly when photographed. The longer the dish sits, the more unappetizing it becomes. Meat can dry out, so a light oil brush can help, but be careful not to use too much as it can be unappealing.
8. Embrace serendipitous moments
Leaving a few crumbs on the tabletop while slicing a cake can add charm and relatability to a recipe. Embracing a touch of mess can make the dish more approachable for viewers, as rigid perfection can be intimidating.
9. Enhance with a spritz
Misting fruits and vegetables with water can transform still-life shots. It adds a fresh, dewy look to the product, making them appear vibrant and plucked from a garden.
10. Stay prepared
Always carry props for unexpected moments of beauty, like finding wild strawberries. Be prepared to capture their beauty, even if it makes you look unusual.
Tips for Shooting Food Photography
Food photography for beginners can be troubling, finding the right setup can be difficult but if one knows about food photography tricks then they can find themselves at ease.
We’ve gathered 11 simple yet effective food photography tips and techniques.
Whether it’s for your blog, tutorial videos, restaurant marketing, or cookbook, these creative food photography ideas will help you achieve exceptional results.
1. Try to use natural light
2. Experimenting with Light Placement
3. Emphasizing Fresh Ingredients
4. Capturing the Cooking Process
5. Exploring Different Angles and Perspectives
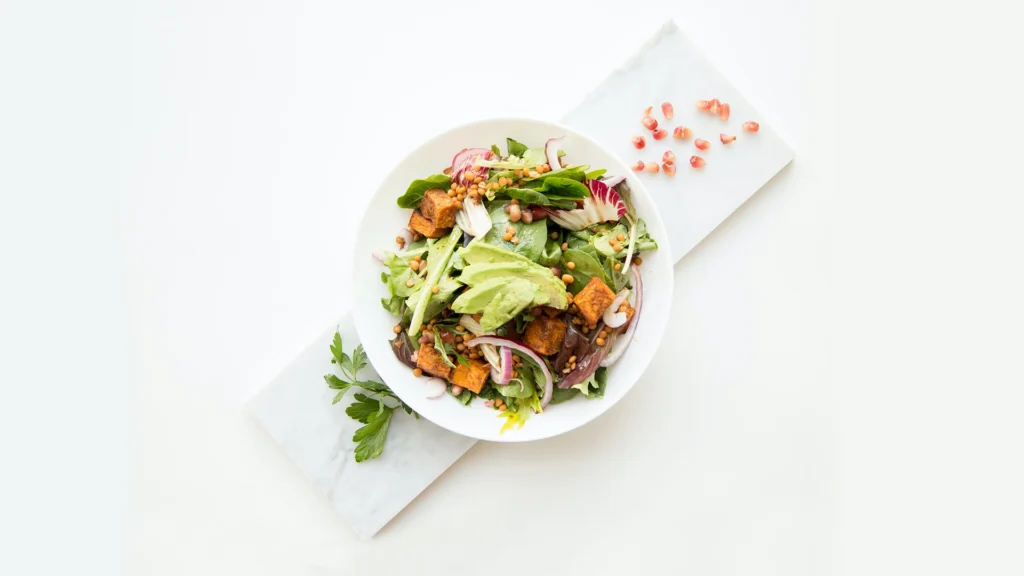
6. Incorporating Negative Space in Photos
7. Finding the Right Balance in Saturation and use color wheel
8. Achieving Balance in Food Plating
9. Timing is Key: Minimizing Food Waiting Tim
10. Find your own style
11. Use food photography props
Camera Angles for Food photography
It is important to have the right food photography setup and right angles to get the best out of your clicks. Therefore, when taking pictures of food, the way you position the camera is super important. Picking the right angle can make your food photos look really powerful.
1. Overhead food photography (90° Flat lay)
The flat lay angle is famous in food pics, and it’s a hit for a reason! Almost any food looks great from above, except for things like closed sandwiches. Check out Instagram and see how much people love using flat lay for food photos.
2. Straight angle food photography
The straight-on angle works great for burgers, sandwiches, or pancakes where the side or inside has more details than the top. Plus, it’s cool because you can add extra things in the background to tell more about the food. It is mostly used in commercial food photography to give viewers a clear and aesthetic view of the food.
3. 45 Degree Angle food photography
It’s like the middle ground between shooting straight at something (0) and shooting from directly above (90). The best angle in this range depends on how much detail is on top of what you’re shooting. Usually, for flatter stuff, start around 90 to 45, and for taller things, try straight-on or around 45.
Cameras for Food Photography
You don’t necessarily require an expensive camera to capture captivating food photos. In the food photography business, a point-and-shoot camera can serve your purpose for a while. Look at the user manual, utilize the macro setting, and practice!
Once you feel prepared to take full control of your exposure and focal length, save up for a DSLR camera (digital single-lens reflex camera). It’s a truly worthwhile investment! One should upgrade their camera approximately every four years and enjoy using the Nikon Z6, which is fantastic.
If you’re having trouble deciding between a Nikon DSLR and a Canon DSLR, rest assured that the differences between the two are quite minimal. Comparable models from both brands will produce photos of comparable quality, so opt for the best camera within your food photography pricing range.
Regarding taking food photos, you can use a dedicated camera. With its advanced camera capabilities, the iPhone can be a powerful tool for capturing appealing food photos. With features like Portrait mode, Smart HDR, and adjustable settings for exposure and focus, you can achieve professional-looking results right from your pocket. Remember to consider the potential of your iPhone as a reliable and convenient option for capturing stunning food photography. Experiment, practice, and explore the possibilities it offers.
Before purchasing, read reviews and visit a local photography store to test the cameras in person. If one brand’s cameras appear more user-friendly and feel more comfortable in your hand, go with that option. Remember that the lens you choose for food product photography will have a greater impact than the DSLR itself, so I recommend buying the camera body and lens separately.
Lenses for Food Photography
We have a preference for compact fixed lenses in food photography. These lenses can’t zoom in or out, which means we need to physically adjust our position to get closer or farther away from the subject.
Fixed lenses have become the go-to choice due to their smaller size, affordability, and faster performance than zoom lenses. They often come with wider apertures, allowing better control over field depth and more flexibility while capturing shots.

Nikon’s 35mm f1.8 lens produced sharper images compared to the old 50mm lens and was particularly convenient for capturing overhead shots of food on the table.
Since upgrading to an expensive full-frame camera, one should predominantly rely on Nikon’s Nikkor Z 50mm f1.8 lens, specifically designed for Nikon’s Z-format cameras. If you own one of Nikon’s other full-frame cameras, we recommend the 50mm f1.4 lens (although the 50mm f1.8G lens is nearly as good).
Now, you might wonder why to switch to a longer focal length when upgrading cameras. The reason is that a 35mm lens on a cropped format camera effectively acts as a 50mm lens on a full-frame camera. It can be confusing. Unless you’ve invested thousands of dollars in a camera, chances are your camera is likely a cropped format, but it’s always wise to double-check to be certain.
Additional Equipment’s
1. Reflectors and diffusers: I often rely on inexpensive white foam boards to bounce light back onto the plate and minimize shadows. If I want to enhance shades, I use a black foam board instead. I usually find these foam boards at craft stores or Target. Occasionally, I hang sheer white fabric over the window to create a softer food photography lighting source.
2. Quality tripod: While many prefer the freedom of shooting handheld, we have realized the value of using a quality tripod to gain better control over settings and ensure exceptionally high-quality, sharp photographs. Many Food photographers are investing in the Manfrotto Studio Pro Triman Tripod and a sturdy arm that enables overhead shots.
Additionally, consider getting a tripod head for your tripod. Food bloggers opted for the Manfrotto 322RC2 Joystick Head Short, which offers much easier adjustment than other tripod heads. One trigger instead of three knobs simplify achieving the desired framing and positioning. They used this for their food photography portfolio.
Styling and Staging Tips for Professional Food Photography
Learn how to set up and style your shots for professional-looking food product photography. Find visually appealing subjects with textures like sauces or crumbs that remain attractive even when cold. Work quickly in a studio setting to prevent melting or wilting. Use a stand-in plate to plan your composition and add small details for visual interest.
Professional food examples are clean and organized, with every element deliberately placed. Techniques like spraying water droplets or brushing food with oil, utilizing natural light, and using reflectors create an appetizing look. Pay attention to composition, balance, and incorporating leading lines. A collection of neutral backdrops adds variety, but remember that the food should always be the star.
Lighting Techniques for Food Photography
Achieving diffused lighting is essential in food art photography. While natural light is ideal, what do you do when it’s too bright outside? A simple solution is hanging a white sheet over a window to create beautiful, soft, and evenly spread light that minimizes harsh shadows.
Another effective approach is using a large lightbox that surrounds your setup. You can easily create your lightbox by cutting out the sides and top of a cardboard box, leaving only a framework, and replacing them with white tissue paper. This makes beautifully diffused light throughout your composition.
Reflections can be problematic when photographing shiny objects like silver pans, glasses, or liquids. Create a frame using a white foam board or cardboard to eliminate this issue. Cut out a circle the exact size of your lens and position it just in front. This way, the reflection will only show the circular shape of your lens, while the rest of the frame remains smooth and white.
Post-processing and Editing
When selecting simple food photography backdrops, plates, and lighting setups, consider the intended usage of your photographs. Sometimes, you may need to isolate the food from its background, which is typically easier on a white backdrop. This skill requires practice and precision, especially when using tools like the magic wand in Photoshop to select and delete white areas. If your item is well-separated from the background, this might be sufficient.
You may need path or other selection tools for more complex items to achieve greater precision. Working on a transparent background layer, saving the final image in .jpg format, unless otherwise specified by clients, is advisable to preserve transparency.
Presenting Your Food Shots
Presenting your food shots is as important as capturing them skillfully. Removing the food from its background is often easiest on a white backdrop, which requires practice and attention to detail. Use tools like the magic wand or path selection for precise isolation. Save the final image in .jpg format to maintain transparency, unless specified otherwise by the client. Creating negative space in your shots is a beneficial technique. It allows flexibility for adding text or design elements. Visualize your photographs within magazine layouts or product packaging, leaving room for barcodes, information, or other elements.
Food Photography Portfolios to Inspire You
Nowadays, everything is online, and no one visits different restaurants physically to decide on and order food. People search for them online and judge them based on their portfolios, or the menu posted online, as the food industry is mainly influenced by visual culture.
Many restaurants or food photographers include food photography blogs in their portfolios to tell their side of the story to the customers of that food product. These blogs help customers connect with the culinary experience and correlate their memories with the featured food by showcasing captivating visuals and engaging narratives. This ultimately contributes to a deeper and more meaningful connection between the customers and the delectable dishes on offer. Therefore, having the best food photography blog becomes crucial in creating a lasting impression on potential customers.
Therefore, a food product photography portfolio is crucial to stand out and influence customers to order food from your restaurant. When someone hears about your restaurant, the first thing they would do is google it. A professional portfolio will help customers judge restaurants and form an opinion. So, a good, attractive, and mouth-watering portfolio is essential for your restaurant marketing.
Sharing appetizing pictures is a great way to encourage people to order something from your restaurant. Adding some content in the form of food blogs with photos can help customers generate their interest.
10 Common Food Photography Mistakes & How to Resolve Them?
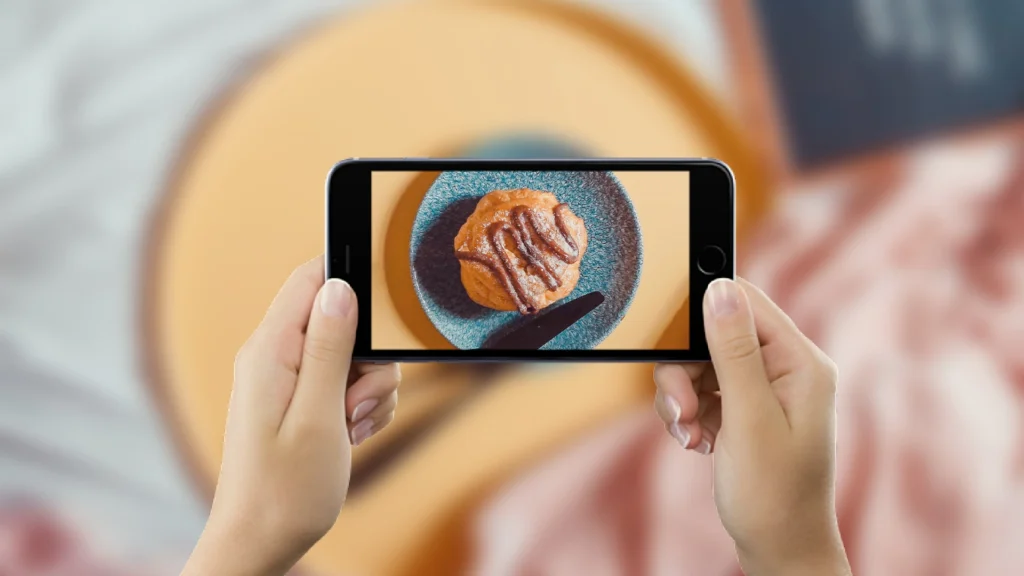
In today’s era, food photos have become a widespread pursuit. The convenience and availability of capturing food images have brought both advantages and challenges. The ubiquity of smartphones has allowed countless individuals to venture into the realm of photography, capturing appetizing dishes, but it has also led to an abundance of unappetizing photos. To maintain a feed filled with delectable and visually pleasing images that won’t diminish someone’s appetite, it’s crucial to steer clear of these 10 common food photography mistakes.
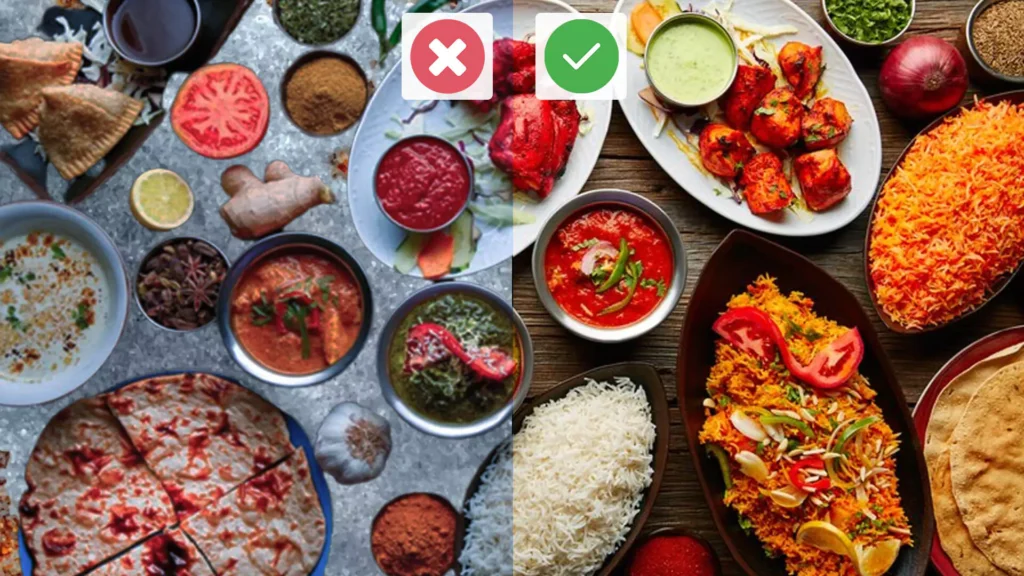
Here are some common problems and their solutions to them!
1. Poor lighting: Use natural light whenever possible. Avoid harsh overhead food photography lighting or direct flash.
2. Cluttered backgrounds: Keep the food photography background simple and clean to draw attention to the food.
3. Unappetizing presentation: Pay attention to the arrangement and composition of the food. Use props strategically to enhance the mood and make the dish more appealing.
4. Lack of focus: Ensure your main subject. Use a tripod or stabilize your camera to avoid blur, and adjust the aperture settings to achieve the desired depth of field.
5. Inconsistent white balance: Set the correct white balance on your camera or adjust it during post-processing. This will prevent the food from looking unnatural or tinted.
6. Overediting: Avoid excessive editing or filters that make the food appear unnatural.
7. Using a cluttered or inappropriate prop: Choose props that complement the dish and add visual interest without overpowering it.
8. Not considering the food’s temperature: Certain foods look their best at specific temperatures. For example, ice cream should be cold and show no signs of melting.
9. Lack of styling: Attention to details such as garnishes, sauces, and textures.
10. Ignoring post-processing: Post-processing can elevate the final result.
The Right Tools for Food Photography Styling & How to Use Them
A well-prepared food styling kit is essential for efficient and successful shoots. It enables quick thinking, problem-solving, and creative improvisation, leading to stress-free sessions and optimal results. The following are the 19 right tools for styling:
1. Tweezers: Precision tools for delicate food placement and garnishing.
2. Cotton Swabs: Ideal for touch-ups and cleaning small marks on dishes and props.
3. Paper Towels: Versatile for hand drying, spill cleanup, and supporting under dishes.
4. Water Spritzers: Convenient bottles for misting water to refresh produce or revive dry food.
5. Glycerine: Helps create long-lasting simulated water droplets on fruit, available in beauty sections.
6. Squeeze Bottles: Perfect for precise sauce application and more control than spoons or pouring.
7. Glass Cleaner: Ensures clean and pristine props by wiping away fingerprints and grease smears.
8. Chopsticks: Useful for adjusting larger food items and particularly handy for noodles.
9. Cooking Oil: Used for brushing on meats, lettuce leaves, or foods to enhance visual appeal.
10. Food Colouring: Red food coloring mixed with water is a cost-effective substitute for red wine in transparent shots.
11. Kitchen Bouquet: A liquid seasoning to brown and flavor gravies, sauces, and other food items.
12. Funnels: Assists in smooth pouring into glasses and bottles, reducing splashes and mess.
13. Small Bowls: Perfect containers for holding garnishes, lemon wedges, and other prepared ingredients.
14. Small Spoons: Great for drizzling sauces or stirring ingredients, doubling as props for certain dishes.
15. Syringes: Provide precise control for applying mayonnaise or ketchup to burger buns or sandwiches.
16. Eye Droppers: Offers greater control for dabbing or dotting sauces or liquids onto plates.
17. Toothpicks: Handy for securing items together, especially tall dishes like burgers or pancake stacks.
18. Dulling Spray: Reduces reflections and glare on shiny items like glassware and utensils.
AI-Powered Food Photography with Spyne
In this emerging era of Artificial Intelligence (AI), no one wants to book an appointment and go to a food photography studio to get expensive professional food photography cost. They all are finding the easiest solution to this problem with the help of AI.
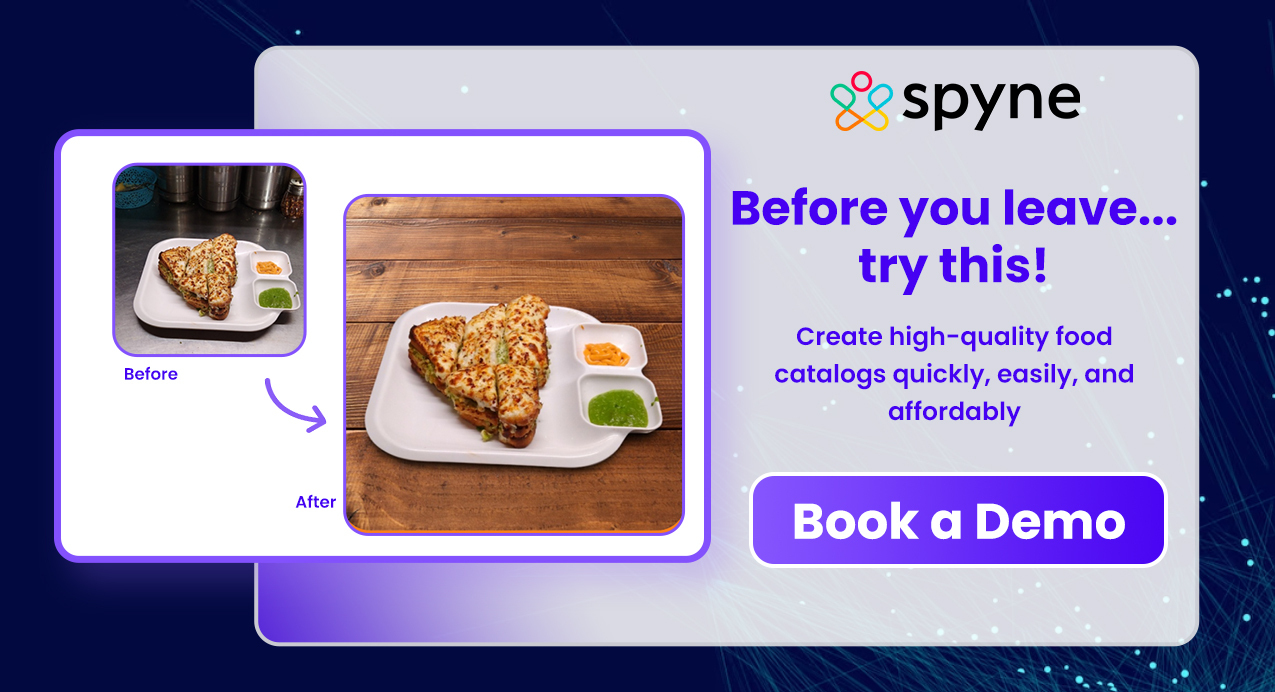
Here comes one of the best, most affordable, and less time-consuming solutions to all your problems, Spyne.ai.
Spyne is the leading AI food photography service. It uses AI algorithms and reduces the human effort of editing by altering the background, adding realistic shadows, and providing the best colors to the image to make it look lively and authentic. Our systems also increase the quality and resolution of your picture.
This food editing app never adds fake scenarios in the customer’s mind as other professional food photography companies do by shaving foam as cream or hair spray to add shininess. It keeps the product genuine, which helps customers to trust the product, and its trust and credibility, which increases the chances of reorders for your restaurant.
The best part – the editing is entirely automated! Not just that, Spyne’s food photo editor has a guided photoshoot feature, which instructs users on how to shoot food pictures. It tells you what angles to pick, and if the images don’t match the quality standards, the app will prompt you to reshoot.
Spyne’s food photography services help you shoot and edit pictures quickly, easily, and affordably. This makes scaling up your operations easy as well. Adding new items to your menu? Click top-quality images and list them in minutes!
Conclusion
Taking amazing pictures of food helps attract people and make them interested in what you’re offering. Spyne.ai uses smart technology to make your photos look incredible without much effort. It’s like having a magic touch for your food pictures, making your business stand out and making others want what you have!
Interested? Book a demo to get your restaurant portfolio ready in seconds.