
Do you know that images hold the power to arouse emotions? The best example of this statement is food photography. An image with consistent lighting, accurate focus on food, and proper background can easily make the person drool at the food. From well-established restaurants to novice food bloggers, cuisine photography is a must skill to attract customers’ attention towards the restaurant, cafe, or food blogging page. Food photography setup is not easy; rather, it is challenging.
It requires a creative mindset, eyes for details, food photography techniques, and skills to master food photography. But with passing time and constant efforts, one can surely master the art of food photography.
This blog will explore the significance of food photography and the essential elements that make food photography effective in attracting customers to restaurants or cafes. So, let’s get started!
How To Set Up Food Photography?
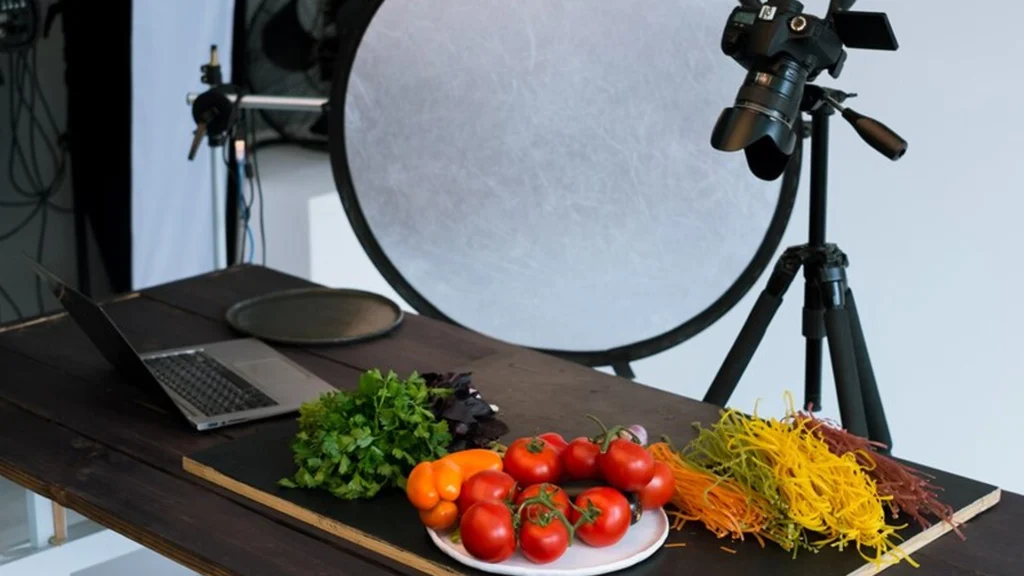
DIY Food photography setup shoot involves several key considerations to ensure that you capture beautiful and delicious images of food. Here are some steps to help you set up your food photography:
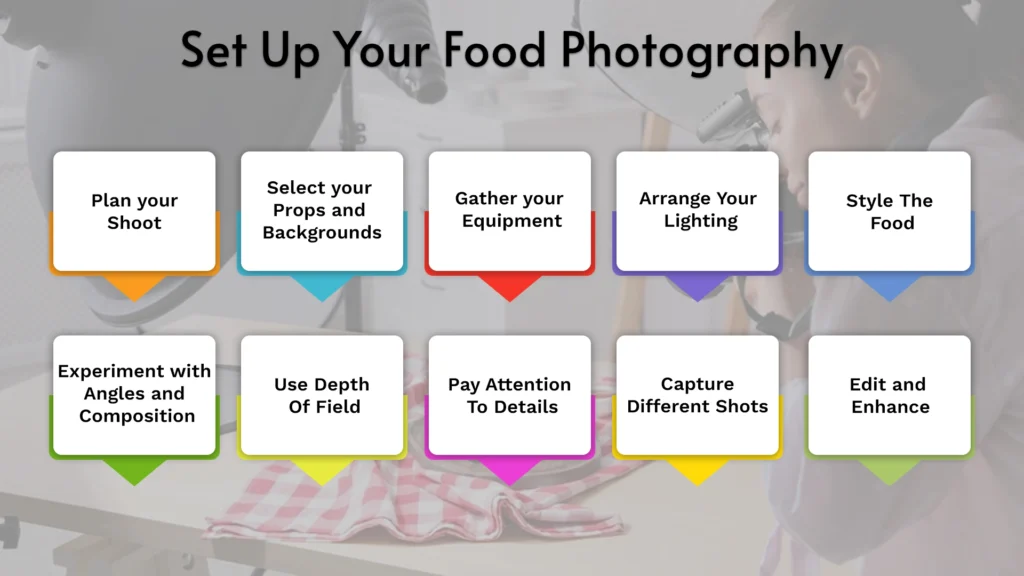
1. Plan your shoot
Determine the purpose and theme of your food photography. Are you shooting for a cookbook, a restaurant menu, or a blog post? Understanding the context will help you decide about props, lighting, and styling.
2. Select your props and backgrounds
Choose appropriate plates, utensils, linens, and support that complement the food and the desired mood. Consider using different textures, colors, and materials to add interest to the composition. Experiment with different backgrounds, such as rustic wood, marble, or colorful surfaces, to enhance the overall aesthetic.
3. Gather your equipment
Ensure you have the necessary photography equipment, including a camera, lenses, tripod, and the best artificial light for food photography. A macro lens is often used in food photography to capture close-up details. Tripods help stabilize the camera and maintain consistent framing, and lighting equipment like diffusers and reflectors help control light.
4. Arrange Your Lighting
Natural light is ideal for food photography. Set up your shoot near a large window or in a well-lit area. If shooting indoors or in low-light conditions, consider using artificial lighting setups like softboxes or continuous LED lights. Experiment with different lighting angles to achieve the desired effect.
5. Style The Food
Take time to arrange the food appealingly. Pay attention to the placement, colors, and textures of the ingredients. Use garnishes, sauces, and props strategically to enhance the composition. A food stylist can be helpful in creating visually pleasing arrangements.
6. Experiment With Angles And Composition
Try shooting from various angles, such as overhead (flat lay), 45-degree angles, or close-ups. Each angle can showcase different aspects of the dish. Play with the rule of thirds and negative space to create visually pleasing compositions.
7. Use Depth Of Field
Consider using a shallow depth to create a blurred background (bokeh) and draw attention to the main subject. This food photography techniquef can help make the food stand out and add depth to the image.
8. Pay Attention To Details
Check for unwanted distractions in the frame, such as crumbs, spills, or smudges. Use a clean and lint-free cloth to wipe surfaces and plates between shots. Consider using a food-safe spray bottle to add shine or mist to certain ingredients.
9. Capture Different Shots
Take various shots, including close-ups, wide-angle shots, and detailed shots of specific ingredients or textures. Capture different angles and compositions to provide multiple options during the post-processing stage.
10. Edit And Enhance
Use photo editing software to enhance the images further. Adjust the brightness, contrast, colors, and sharpness to achieve the desired look. Be careful not to over-edit or alter the appearance of the food unnaturally.
Why Is Food Photography Important For Your Restaurant’s Success?
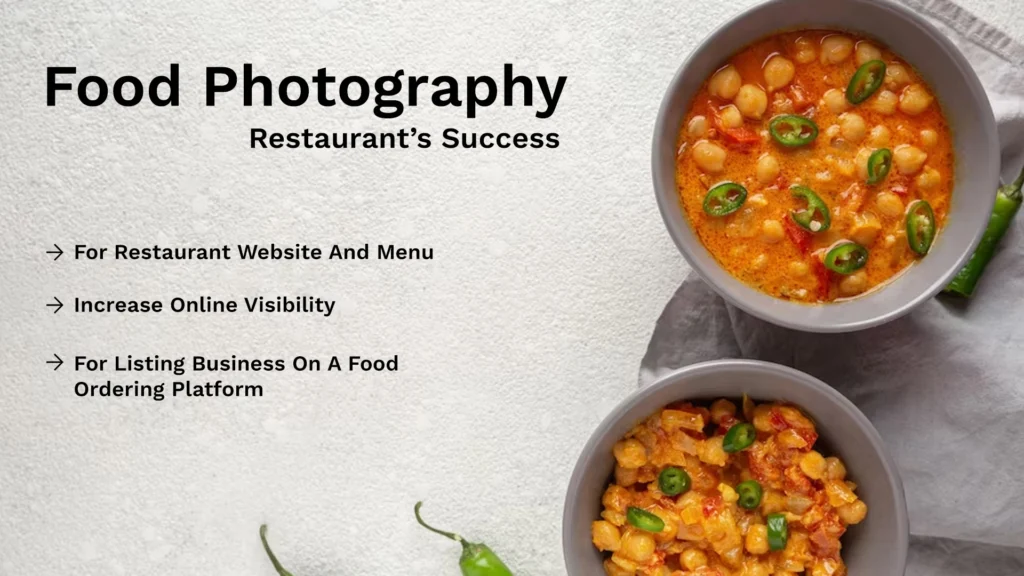
Food photography has gained tremendous popularity in little time. Not only food vloggers or bloggers are inclined towards food photography setups to establish their social media presence, but well-established restaurants and cafes are also inclined towards food photography to enhance their reach. Food photography is important:
For Your Restaurant Website And Menu
The images that are present on your website and menu represent your restaurant. People believe what they see. If they see a perfect image of a food item that represents delicacy and looks appealing and delicious, people will come to taste the food item. But, if the picture looks dull and non-appealing, people will ignore the restaurant, however delicious the food item is in reality. Therefore, restaurant photography is essential to use perfectly photographed images for your website and menu.
For Listing Your Business On A Food Ordering Platform
From a quick snack to a heartfelt meal, people order food from online platforms instead of making it on their own. Most of the time, people order online food based on the images uploaded with that specific food item. If the image looks good, people will order the food without worrying about the description or ingredients. Hence, a perfect food image on the ordering platform can boost your sales and market value. It will also help you to establish yourself as a famous restaurant or cafe with high ratings and positive reviews.
Increased Online Visibility
With the rise of online food ordering platforms, blogs, and social media, people often search for restaurants and dishes online. Having captivating food photography increases the chances of your restaurant being discovered by potential customers during their online searches. Appealing food images shared on social media can also lead to user-generated content, with customers posting their own pictures of your food and spreading the word about your restaurant.
Understanding The Intricacies Of Food Photography Lighting
Food photography lighting works as a miracle for your images. A perfect amount of lightning from the ideal angle, appropriate brightness, needed natural lightning, etc., are essential to consider while clicking an image of food items. For instance:
Use Constant Light For Easy Food Photography Lighting Setup
A constant light source will make your work easier, more sophisticated, and amazing. A steady light source has various benefits, and not only will it help click food images, but food videos can also be quickly shot. Constant light is helpful for clicking still images and allows for experimenting with different angles without much shifting and re-organizing of food items or props, or other photography tools.
Some Constant light sources, such as moonlight, allow for experimenting and using or avoiding shadows in the images. They are a comparatively cheap lighting option that comes with various benefits and gives a real look to the images.
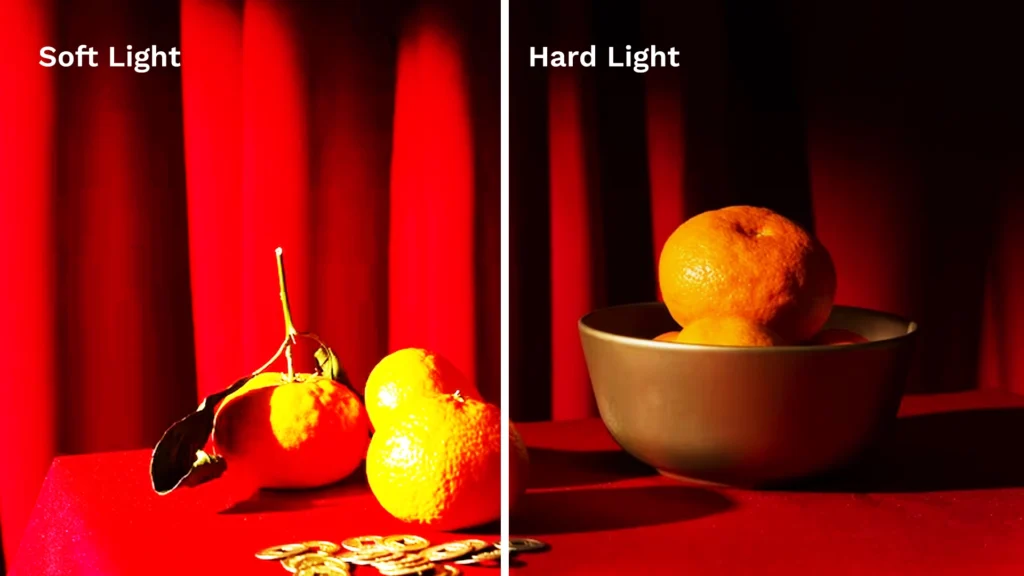
Soft vs Hard Food Photography Lighting
Different food items require other lighting arrangements for a perfect picture. Some food items will be best represented in soft light, whereas some items require hard contrasting light to look appealing. A food photographer best understands what type of lighting source will be a good option for which type of food. Tools like softbox are a good option for soft food photography and still photography, whereas reflectors provide a needed contrasting light for sharp contrasting images.
Soft lighting is calm to the eyes and looks satisfying, whereas hard lighting best represents different angles and features of the food item in a contrasting manner. Experimenting with which light is best for specific food items can help to better understand the art of food photography.
The Basic Setup for Food Photography
A quality camera and sophisticated background are just not enough for clicking the food photographs that are appealing and appetizing. Certain food photography setups and techniques had to be made to get a perfect food photography lighting setup. Such as:
Compositions for Mouthwatering Food Photography
How you arrange the food items matters a lot. An inappropriate composition of food items can result in less appealing images, whereas the appropriate composition of food items will perfectly represent the most attractive angles of the food item. Not all food items can be arranged in a similar format. You need to be creative and intelligent in the composition of the food items.
Also, photography from a similar angle won’t bring life to all images, and you need to identify the best angles to get the perfect picture. For instance, a pie can be best shot from an overhead view, whereas a burger with various layers can be best shot from side angles. And these angular shots are only possible due to the perfect composition of food items.
Basic Lighting Setup For Food Photography
A good food photography lighting setup is important for food photography. A good lighting setup includes various tools, such as diffusers, monochromatic lights, softboxes, reflectors, etc., to make the images look professional and tasty at the same time. Listed below are the tools you need for a professional lighting setup.
Lighting Gear
Lightning gear or lightning equipment is a one-time investment tool that will assist you for a long time. Various aspects must be considered for a perfect mouthwatering food image, and multiple arrangements must be made for a single ideal click. Certain lighting gears that assist in the process are:
- Tripod
- Tripod arm extender
- Prime lens
- Color correction cards
- Lighting kit
- Props
- Backgrounds
Light Modifying Aids
Tools to modify and control the lighting source are another important requirement of a good lighting setup. Light modifiers will enhance the quality of the image and give a natural look to the image. Certain light modifying aids are:
- Softbox
- Reflector dish with honeycomb grid
- Diffuser
- Strip box
- BarnDoors & Snoots
Using Natural Light
Natural lights provide a perfect hue and glowing look to the images that are soft to the eyes and make the appearance of ideas more profound. Natural light from an accurate direction and with needed intensity can bring the best look out of the image. Muslin cloth or the baking paper is helpful to diffuse the light and scatter it so that the light gives a soft glowing look.
Reflectors can also be used while clicking images with natural light sources. White foam core reflectors are suitable for bouncing the light back and bringing a soft look to the images. On the other hand, black foam core will perfectly enhance the shadows by absorbing the light and help to get the perfect contrasting image from natural light.
Best Tips For Your Restaurants
To ace your food business and come to the top of the best rankings, here are some tips that will help you throughout your restaurant or cafe journey:
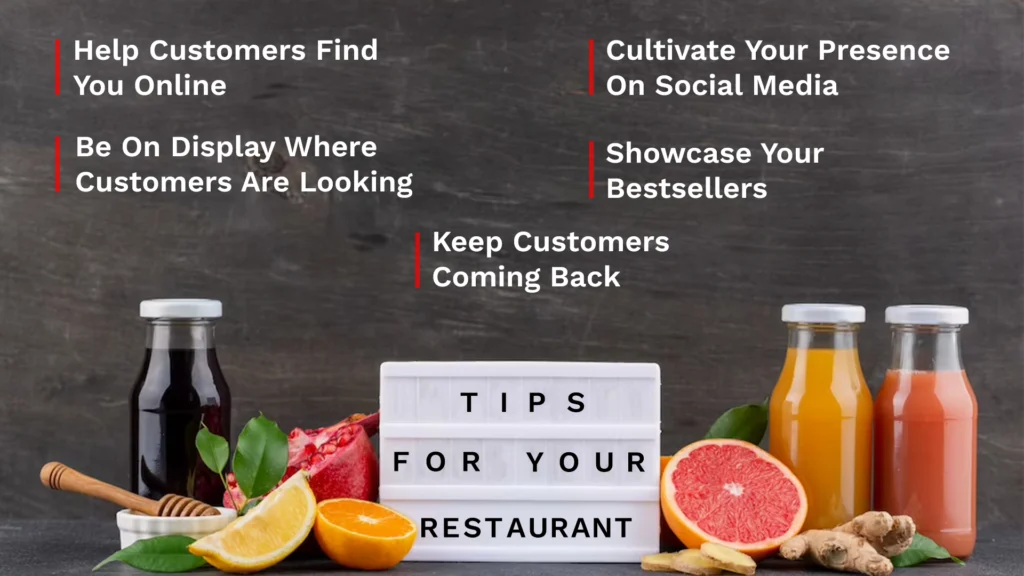
Help Customers Find You Online
A solid online presence is an indicator of a growing and healthy business. Help your customers find you online, interact with them regularly, and strengthen your brand online. It will give you a strong and well-developed name in the market, resulting in better reach.
Cultivate Your Presence On Social Media
Social media applications are the best platform for restaurant marketing, and it can be best done with appetizing visuals of the food served. The appealing, real-time images of food served at the restaurant can be shared on social media to attract many people. A solid social media appearance can help the business to grow at a rapid rate. Be present and available on as many possible social media platforms.
Be On Display Where Customers Are Looking
Understand the growing trends in the food industry, consider traditional advertising methods, and be present there to promote your restaurant and brand name. For instance, online food ordering platforms are highly in-demand now. Make sure to display your services and items on those platforms and be available and quick in your services for positive reviews.
Showcase Your Bestsellers
Display your bestsellers at the top of your webpage and also on online ordering platforms. Combine the list of your bestsellers with images of those items, which will act as a wonder for your restaurant. It will attract the customer to the page or restaurant and enhance the sales rate. Also, gaining positive feedback on best-sellers is easy, which will attract more new customers.
Keep Customers Coming Back
Make sure your customers come back. The best way to achieve this is to introduce various deals and offers for your regular customers. Also, keep your services fast and accurate. It will make the customers choose you over and over. Regular customers tend to refer more as compared to new customers.
Conclusion
Food photography is an art that requires your creative mindset and intelligent strategies to click the perfect shot, which will not only impress the restaurant or cafe owners but will attract many customers to the restaurant. With proper knowledge and the necessary tools, one can master the art of food photography setup and achieve the needed skills for quick DIY food photography setup. A single solid solution for all your food photography needs is Spyne.
Spyne provides businesses with a complete platform to easily create high-quality food photography with the help of Artificial Intelligence (AI). From styling and lighting to food photo editing and delivery, Spyne’s restaurant food photography services provide a seamless experience for businesses looking to showcase their products at their best.
Discover how Spyne’s expertise can take your food photography to the next level.