The home photography studio is a paradise for photographers looking for convenience and creative flexibility. It allows you to take breathtaking photos in the familiarity and comfort of your home. Everything you need to know about lighting, background selection, area optimization, and equipment selection is covered in this blog. Prepare to build a personal studio that realizes your concept.
Gone are the days when a photography studio required a hefty budget and a dedicated commercial space. Advancements in technology enable remote photography, bringing visions to your life.
What is a Home Photography Studio?
A home photography studio is a dedicated space within your home specifically designed for capturing professional-quality photographs. It is a controlled environment where photographers can exercise creative control over lighting, background, and other elements. A home photography studio can vary in size and complexity. It depends on the available space and the photographer’s specific needs and goals.
It can range from a small corner room with essential equipment to a fully equipped studio setup with professional essentials.
Home photography studio offers several advantages, including the flexibility to schedule a photoshoot setup at home at any time, the convenience of having all the necessary equipment, and the ability to experiment and refine your skills in a familiar environment.

Why Do You Need a Home Photo Studio?
Having a home photo studio can significantly enhance your photography journey. It provides convenience and flexibility, allowing you to shoot whenever inspiration strikes without needing external locations. With complete control over the environment, you can customize lighting, backgrounds, and props to create the perfect setting for your vision.
Additionally, a home studio offers cost savings over renting commercial spaces for every shoot and provides a comfortable and private space for you and your subjects. It’s an opportunity to practice, experiment, and develop your skills while expressing your unique creative style. Whether you’re a beginner or a seasoned photographer, a home photography studio is a valuable asset that unlocks endless possibilities for capturing stunning images.
It also serves as a comfortable and private space where you and your subjects can feel at ease, resulting in more authentic and impactful photographs.
How Do You Set Up a Home Photography Studio?
Setting up a home photography studio involves several vital steps to ensure a functional and inspiring space. Follow these steps to get started
1) Choose the Right Space:
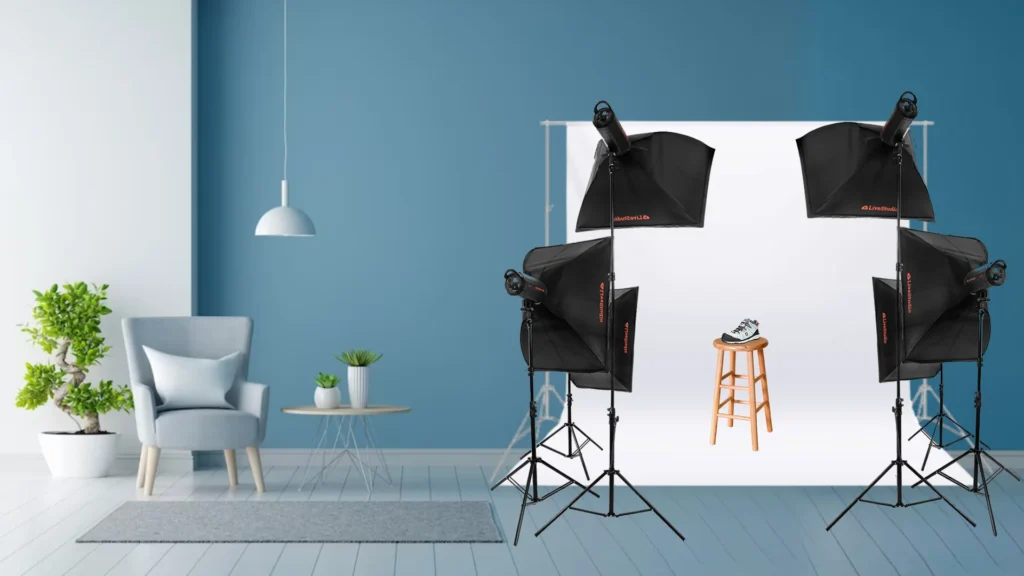
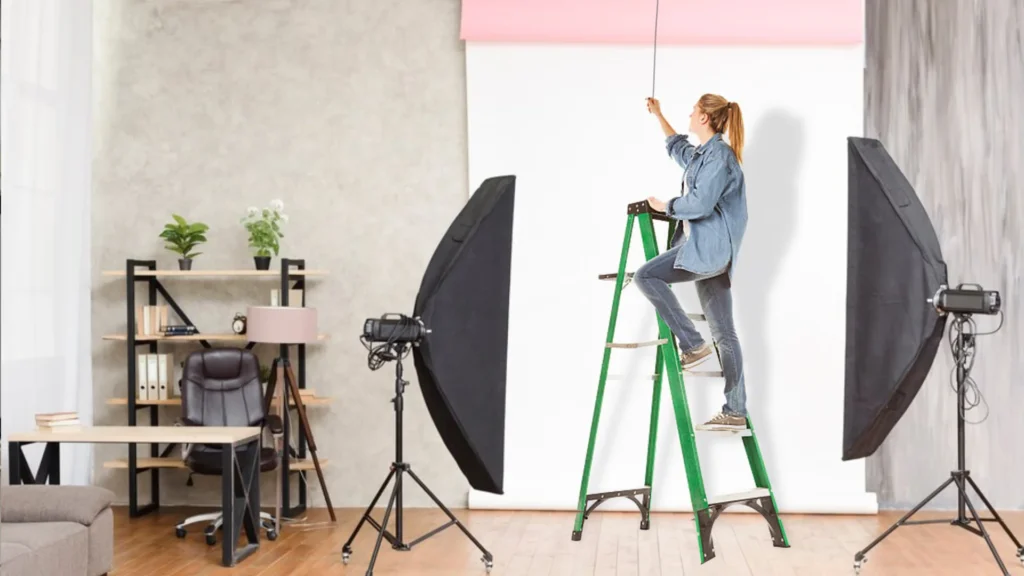
Look for an area in your home that offers sufficient space for your studio setup. It could be a spare room, a corner of a larger room, or even a well-lit garage or basement.
2) Evaluate Lighting:
Natural light is ideal, so consider a room with large windows. You can use artificial lighting options such as studio lights, strobes but keep extra lights to a minimum.
3) Backdrops and Props:
Select a variety of backdrops to cater to different photography styles and genres. Invest in props that align with your niche for creativity.
4) Essential Equipment:
Get a camera, lenses, tripod, and memory cards. Consider studio lights, reflectors, diffusers, and modifiers based on your genre.
5) Create a Shooting Area:
Dedicate a specific area for your photography setup.
6) Organize and Optimize:
Keep gear, accessories, and props organized for easy access. Use shelves, bins, or carts for tidiness.
7) Safety Measures:
Ensure your studio setup adheres to safety guidelines. Follow safety guidelines, manage cables, and use lighting equipment with caution.
8) Test and Adjust:
Capture test shots to evaluate lighting, composition, and functionality. Make adjustments as needed to achieve the desired results.
Remember, a home studio is a continuous improvement process. Upgrade equipment, add props, and modify the setup as you progress.
In a studio, you have complete control over your environment. Experiment with lighting, equipment, and props. Use colored lighting gels and different backgrounds for unique effects. Unleash your creativity and capture stunning photographs.
How Big Should Your Home Photo Studio?
Several factors determine the ideal size for a home photo studio. Determined by several factors. First and foremost, it depends on the type of photography you intend to pursue and the equipment you plan to use. However, a general guideline is to aim for a space that provides enough room for your subjects, props, and lighting equipment while allowing you to move around comfortably to capture various angles and compositions.
A recommended minimum size for a home photography studio is around 10 feet by 10 feet (3 meters by 3 meters). This site should provide enough space for a basic setup, such as a backdrop, lights, and a small area for posing your subjects. However, remember that you may need a larger space to shoot larger groups or utilize more elaborate props and equipment.
When determining the size of your home photo studio, consider the height of the ceiling as well. Aim for a ceiling height of at least 8 feet (2.4 meters) to accommodate different lighting setups and prevent unwanted shadows or reflections.
Additionally, it’s crucial to consider the availability of natural light in your studio space. Choose a room with large windows or reasonable access to natural light sources. This can enhance your photography by providing soft, diffused lighting and a pleasing ambiance. However, remember that you should also have the option to control and manipulate the lighting conditions with artificial lights when necessary.
Remember that the size of your home photo studio is one of many essential aspects. You should also create a comfortable and welcoming environment for your clients or subjects. This can be achieved through proper organization, neatness, and the inclusion of amenities such as seating areas, mirrors, and changing rooms, depending on the type of photography you specialize in.
Note:
The size of your home photography studio depends on your photography needs, equipment, and shooting preferences. Aim for a space that allows for flexibility, accommodates your equipment and subjects, and provides an optimal environment for capturing stunning images.
What Is The Basic Gear Setup For A Photography Studio?
1) A photography studio setup equipment typically requires a camera, lenses, a tripod, lighting equipment, backgrounds, light reflectors, light stands, a light meter, and accessories.
2) Choose a digital single-lens reflex (DSLR) or mirrorless camera with manual control, interchangeable lenses, and a high-resolution sensor for capturing detailed images.
3) Invest in a selection of lenses to cover various focal lengths and shooting situations, including a mid-range zoom lens and a portrait lens with a wider aperture.
4) Use a sturdy tripod to stabilize the camera and ensure sharp images, especially in low-light conditions or with longer exposures.
5) Set up strobes or flash trigger units, light stands, and modifiers, such as umbrellas or softboxes, to control and shape the light in your home photography studio.
6) Employ lighting modifiers like softboxes, umbrellas, reflectors, and diffusers to modify and soften the light for a more positive and controlled lighting environment.
7) Measure the intensity of the light falling on your subject with a light meter to ensure accurate exposure in the studio.
8) Have a variety of backgrounds or backdrops to create different moods and styles in your images.
9) Use light reflectors to bounce light back onto your subject, fill in shadows, and employ diffusers to soften and spread the light for even illumination.
10) Use sturdy light stands to support your lighting equipment at different heights and angles, and utilize boom arms for overhead or angled lighting setups.
How to Choose a Background for Your Home Studio
Entering your DIY home photo studio adventure, the selection of a captivating background holds the key to unlocking the magic in your photographs. Consider your unique photography style, whether it’s portraits, product shots, or still life, and envision how the background can complement your subjects, adding depth and enhancing their beauty in your DIY home photo studio.
Survey your home studio space, taking note of the available area for your DIY setup. Find a perfect backdrop, embrace your subjects, and create a harmonious composition within your DIY photo studio.
Let your DIY background reflect your vision, adding a personal touch to your home photography studio setup. Explore different materials, such as affordable options like seamless paper rolls, fabric backdrops, or even repurposed items, that suit your style and resonate with your homemade photo studio.
Colors and patterns are vital in your DIY photography studio setup. Neutrals like white, gray, or black offer versatility, while bold colors or patterns can add a touch of excitement to your shots, infusing your DIY photo studio with character and charm. Choose a backdrop that can be easily moved or stored, allowing you to adapt and experiment as your creative journey unfolds within your homemade photo studio.
Experiment and test your chosen backgrounds, allowing the interplay of light and shadow to bring your vision to life. With every click, your backdrop becomes the canvas where magic and artistry intertwine, showcasing the ingenuity of your home photo studio setup, or follow Spyne AI revolutionary guide for image editing solutions powered by artificial intelligence.
How To Choose The Background From Spyne
Upload your image to the Spyne AI platform, and watch as our advanced AI models intelligently identify the subject and background. Our vast database of backgrounds ensures a perfect match for your image, seamlessly integrating the new background.
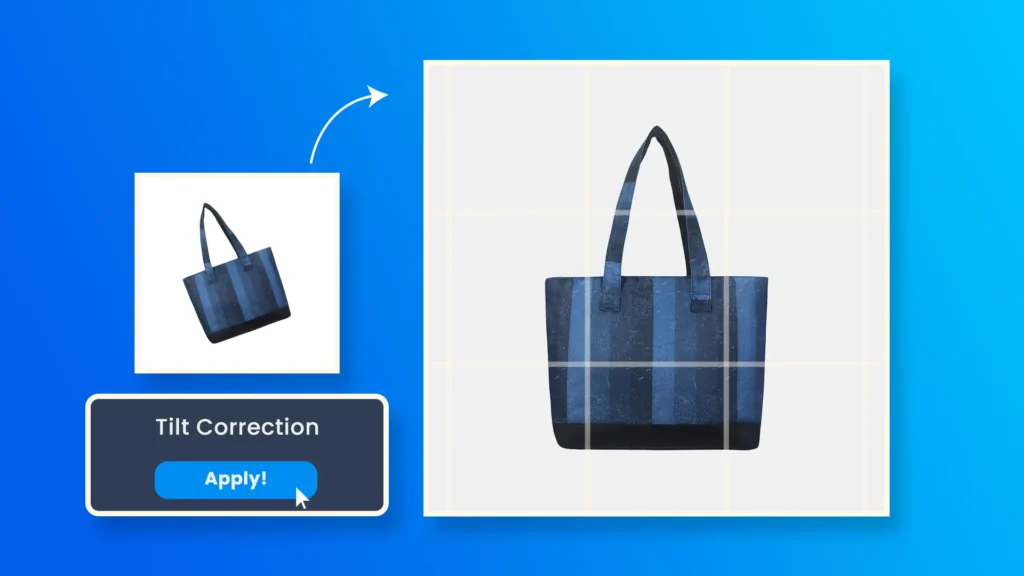
Say goodbye to tedious manual editing processes and hello to instant transformations. Spyne AI automates the entire process, saving you time and effort. The edited images produced by Spyne AI are remarkably realistic, often indistinguishable from human-edited ones.
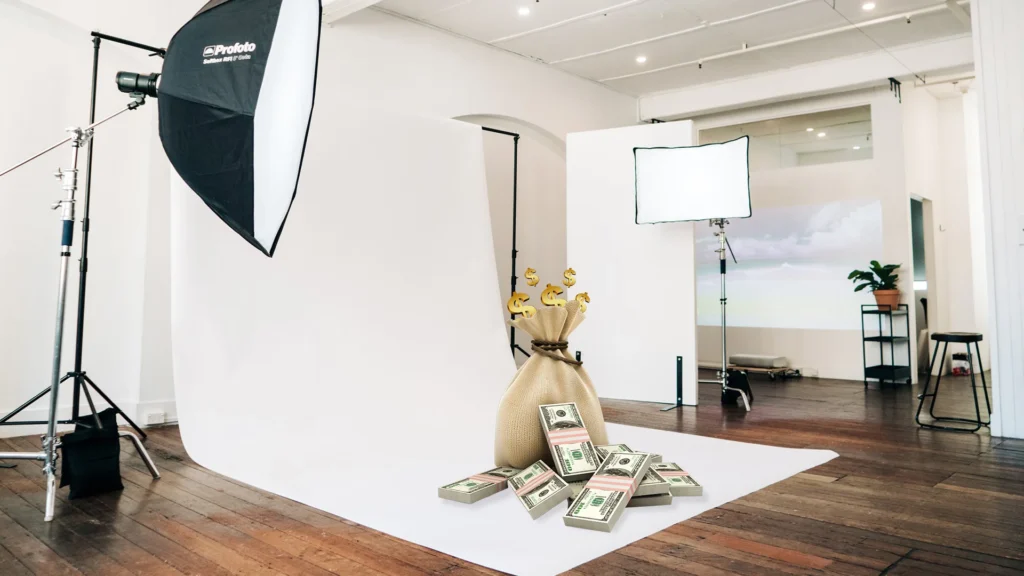
How Much Does It Cost to Build a Photography Studio?
Building a photography studio incurs varying costs based on size, location, equipment, and finishes. Depending on the studio’s specifications, the cost can range from a few thousand to tens of thousands of dollars.
Several factors affect the cost of constructing a photography studio:
Size: The larger the studio, the higher the associated expenses.
Location: Costs fluctuate depending on the rental or property prices in the chosen area.
Equipment: The type and quality of photography equipment impact the overall cost.
Finishes: The selection of finishes, including flooring, walls, insulation, and design elements, contributes to the expenses.
To establish a budget for your studio, consider the essential items required:
Cameras: Prices span a wide range, from a few hundred dollars for entry-level models to several thousand dollars for professional-grade equipment.
Tripods: Basic models start at around $50, with high-end options exceeding $1,000.
Home photography studio lighting: Costs vary based on the chosen lighting equipment, such as spotlights, strobes, or continuous lights.
Backgrounds: Backdrop prices differ depending on the material and design.
For a basic studio, allocate approximately $5,000, while a more professional setup may require a budget of $20,000 or more. It’s worth exploring cost-saving strategies such as purchasing used equipment or repurposing existing space. On the other hand, Spyne AI is a great option. It’s easy to use, fast, accurate, and affordable. You can try Spyne AI for free by signing up for a free trial.<> Traditional photography methods can be challenging. They also require specialized skills and equipment, which can be expensive.
Spyne AI is an excellent option for businesses and individuals that want to improve their product visuals without the hassle of traditional photography. It is easy to use, fast, accurate, and affordable. Spyne AI uses artificial intelligence to process images automatically. This means you can process your pictures quickly and start using them immediately. Spyne AI is also highly accurate, so you can be confident that your images will look great.
What’s Better, A Permanent Location Or A Portable Studio?
A portable studio outperforms a fixed-location studio in terms of flexibility and mobility. It provides greater convenience and lets you set up a professional workspace wherever you go. This versatility proves advantageous for professionals who frequently work on location or need to travel for their projects. Photographers specializing in outdoor or on-site shoots, event photographers, or filmmakers capturing documentaries or travel content can significantly benefit from the portability of a studio.
Furthermore, a portable studio is compact and easy to transport, making it suitable for individuals with limited space or frequently changing work environments.
Considerations of cost also favor the portable studio.
A fixed-location studio typically involves ongoing financial commitments such as rent, utilities, and maintenance costs. This can be burdensome for individuals or small businesses with limited budgets. In contrast, a portable studio requires an upfront investment in essential equipment but eliminates the need for recurring rental expenses. This makes it a more cost-effective solution, particularly for those who prefer to have control over their equipment.
The nature of your creative work should also guide your decision. Evaluate the types of projects you undertake and the shooting conditions you frequently encounter. A fixed-location studio might be better if you primarily work in controlled environments that demand consistent lighting and backdrops. However, a portable studio can provide flexibility and convenience if your work often takes you to diverse locations or requires adaptability to different shooting conditions.
In conclusion, a portable studio offers superior advantages over a fixed-location studio in flexibility, mobility, convenience, and cost-effectiveness. Assess your specific requirements, considering stability, consistency, mobility, cost, and the demands of your creative work to determine which option best suits your needs.
Conclusion
In conclusion, setting up a home photography studio setup can be exciting and fulfilling for photographers of all levels. It provides the freedom to your creativity, experiment with different techniques, and capture stunning images right from the comfort of your home. With careful planning and the right equipment, you can create a space that reflects your unique style and vision.
While building a photography studio may require time, effort, and resources, but the benefits are well worth it. The home photo studio offers flexibility, control, and possibilities for scheduling photoshoots at your pace. Spyne AI is here to take your photography to the next level. Spyne AI enhances image editing, saves time, and achieves stunning results. Say goodbye to manual editing processes and embrace the power of automation with Spyne AI.
Explore photography with Spyne AI, enhance images for beginners and professionals, and create a home photography studio. Your journey to capturing captivating visuals starts now.